 |
||||||||
|
|
|
|
|
|
|
|
|
|
 |
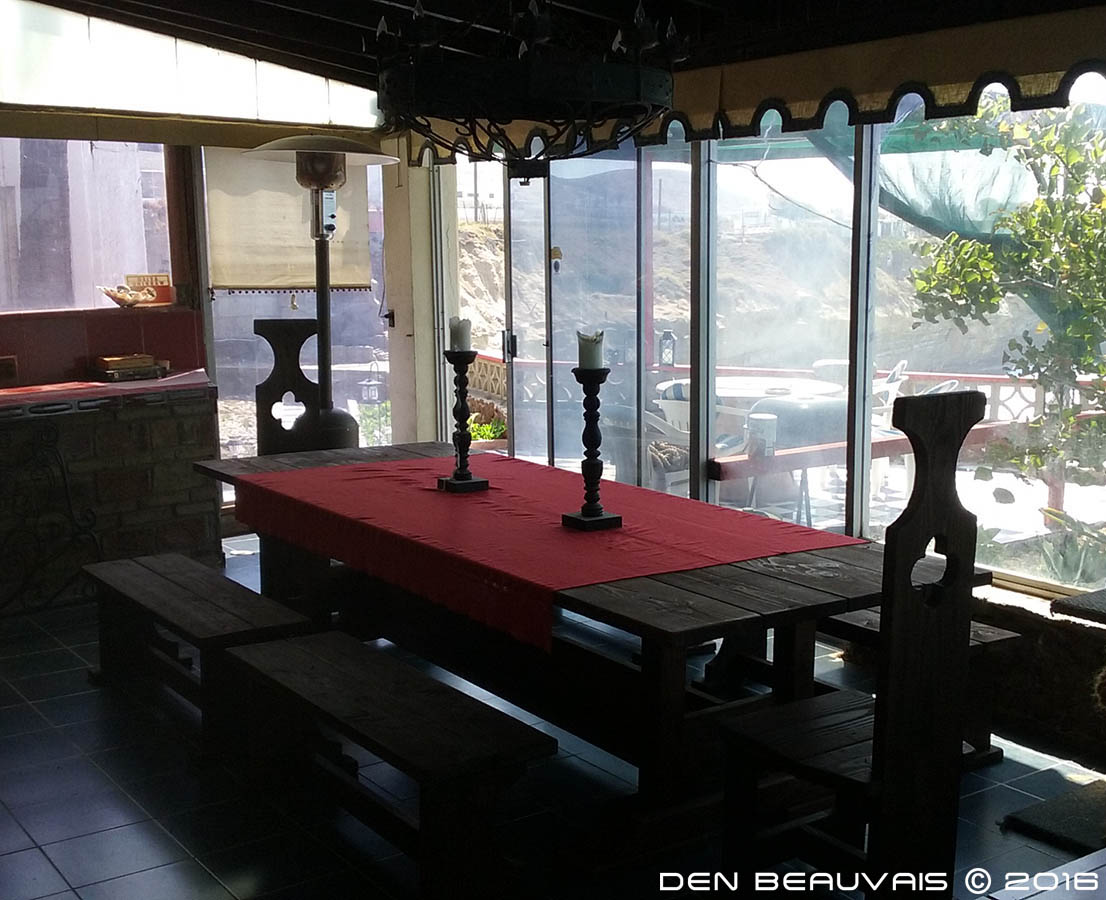
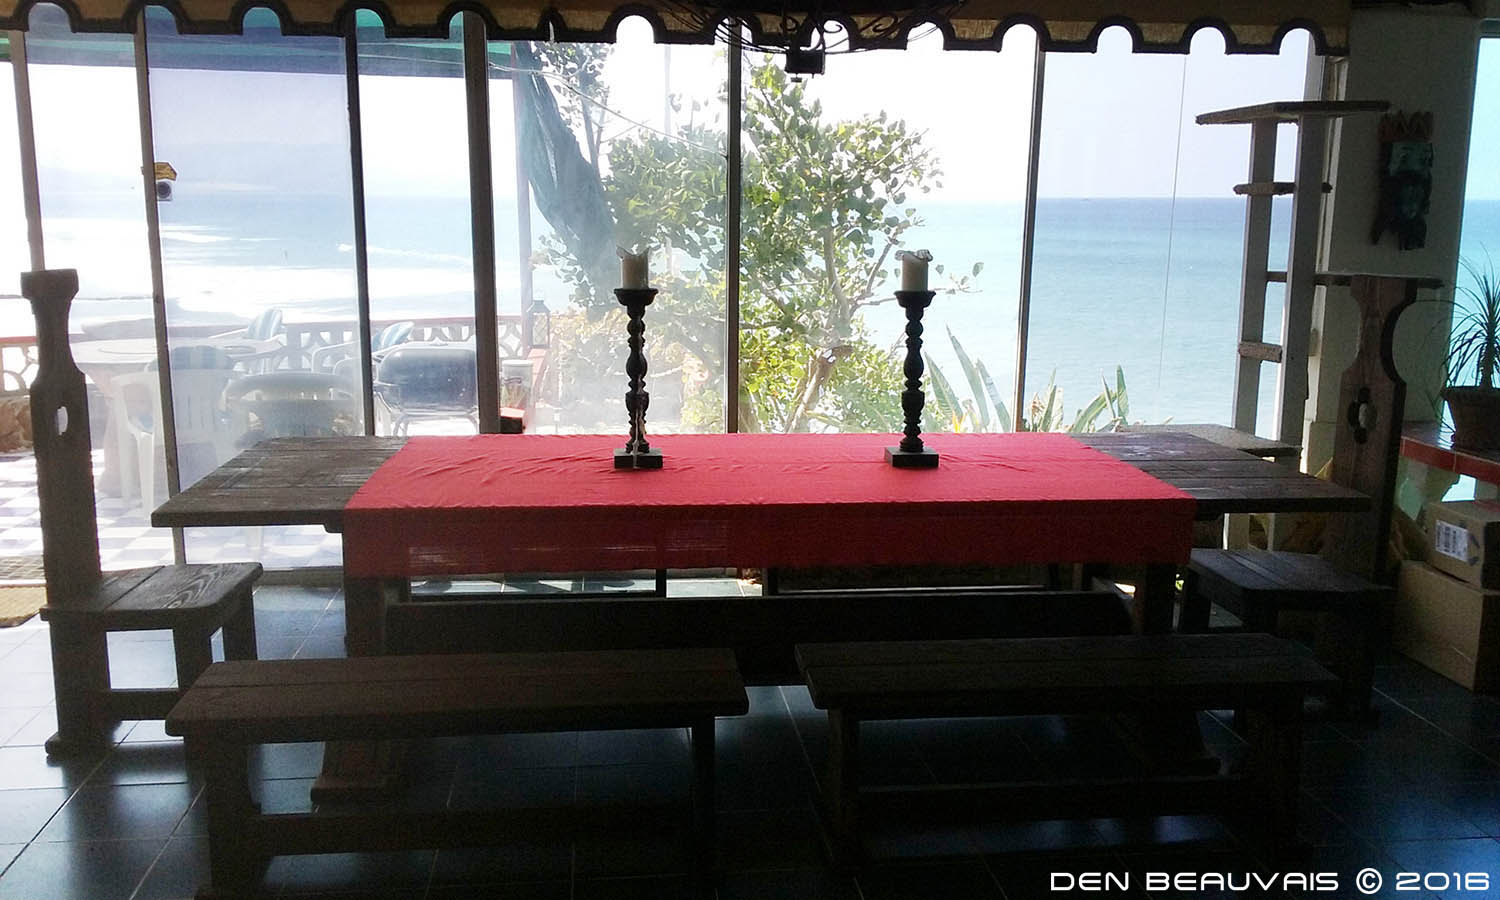
While visiting a lumber yard recently my wife and sister fell in love with a large rustic table that they slap together with old spare weathered boards. It was an expensive work bench in my opinion and not very sturdy at that. I said gimme a few days and I'll make one and for the same cost I managed to make an even bigger table complete with benches and end chairs. The whole project took about a week from designing it in 3D to actually building it ready to varnish. Here are some pics of the set during the creation. |
|
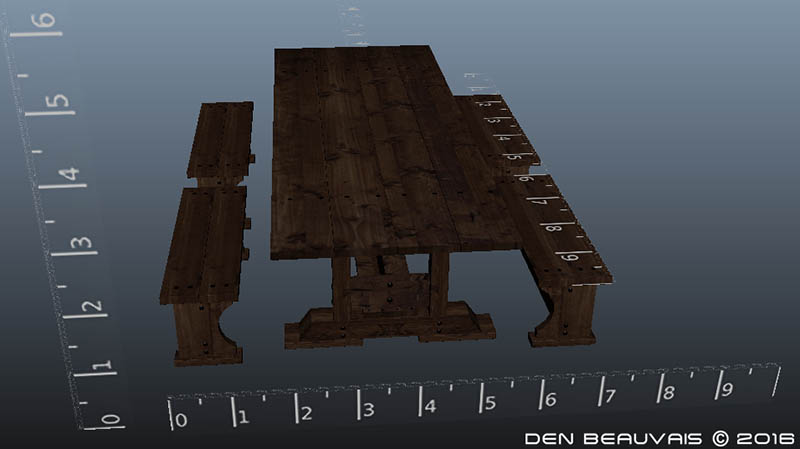
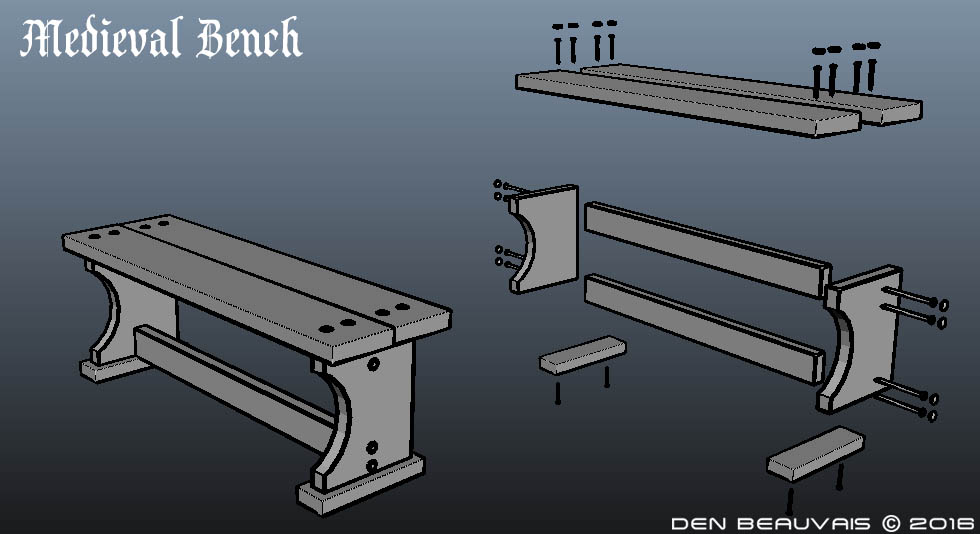
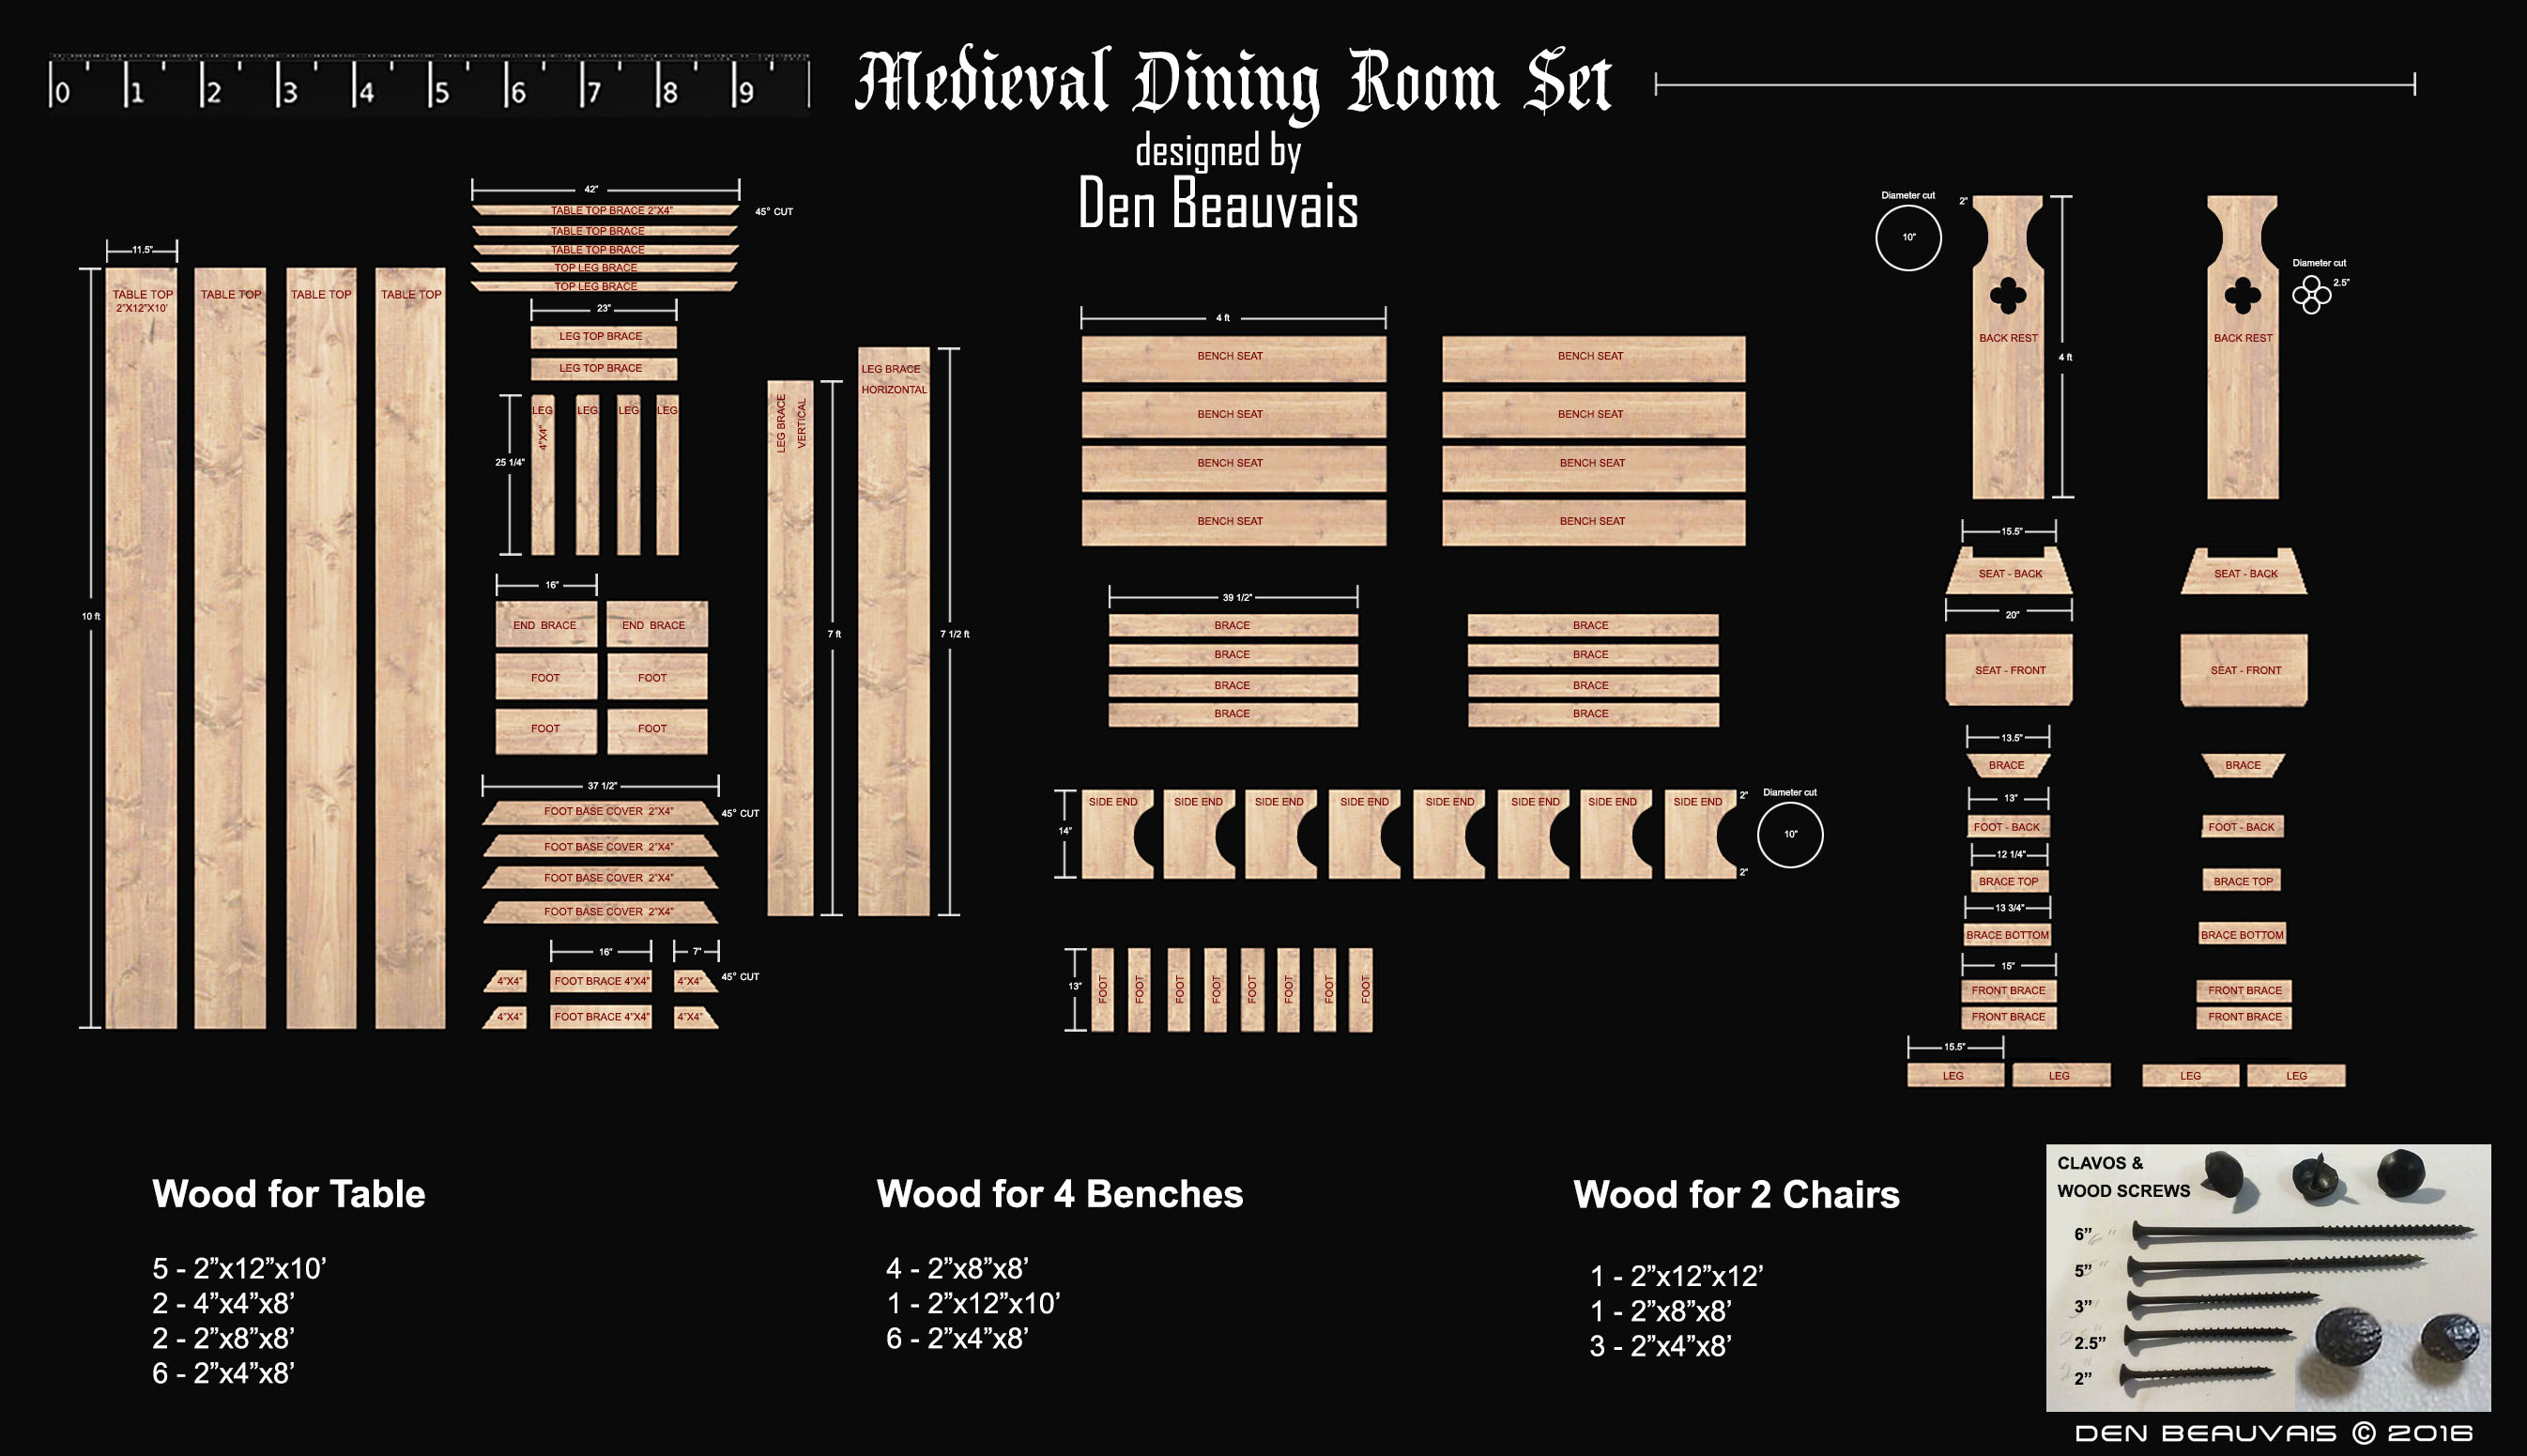
| First step was to design a look I like and adjust the measurements to real world lumber specs. |
 |
 |
 |
 |
 |
 |
 |
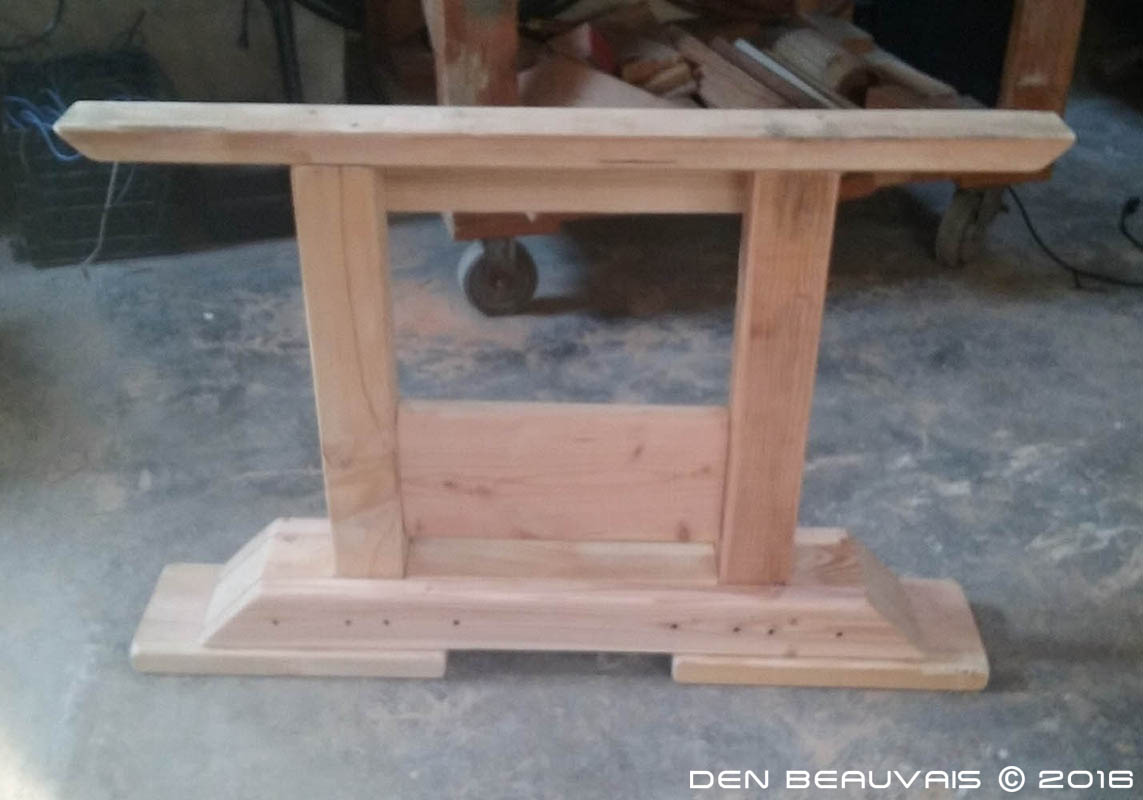 |
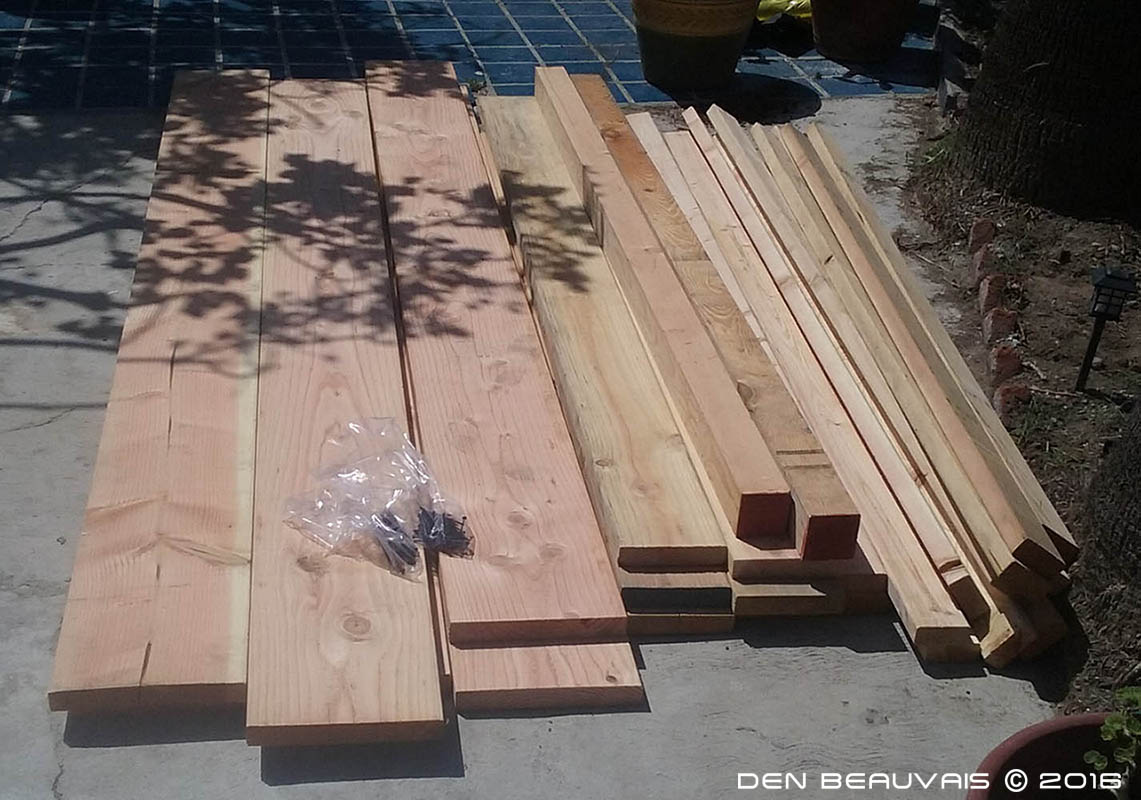
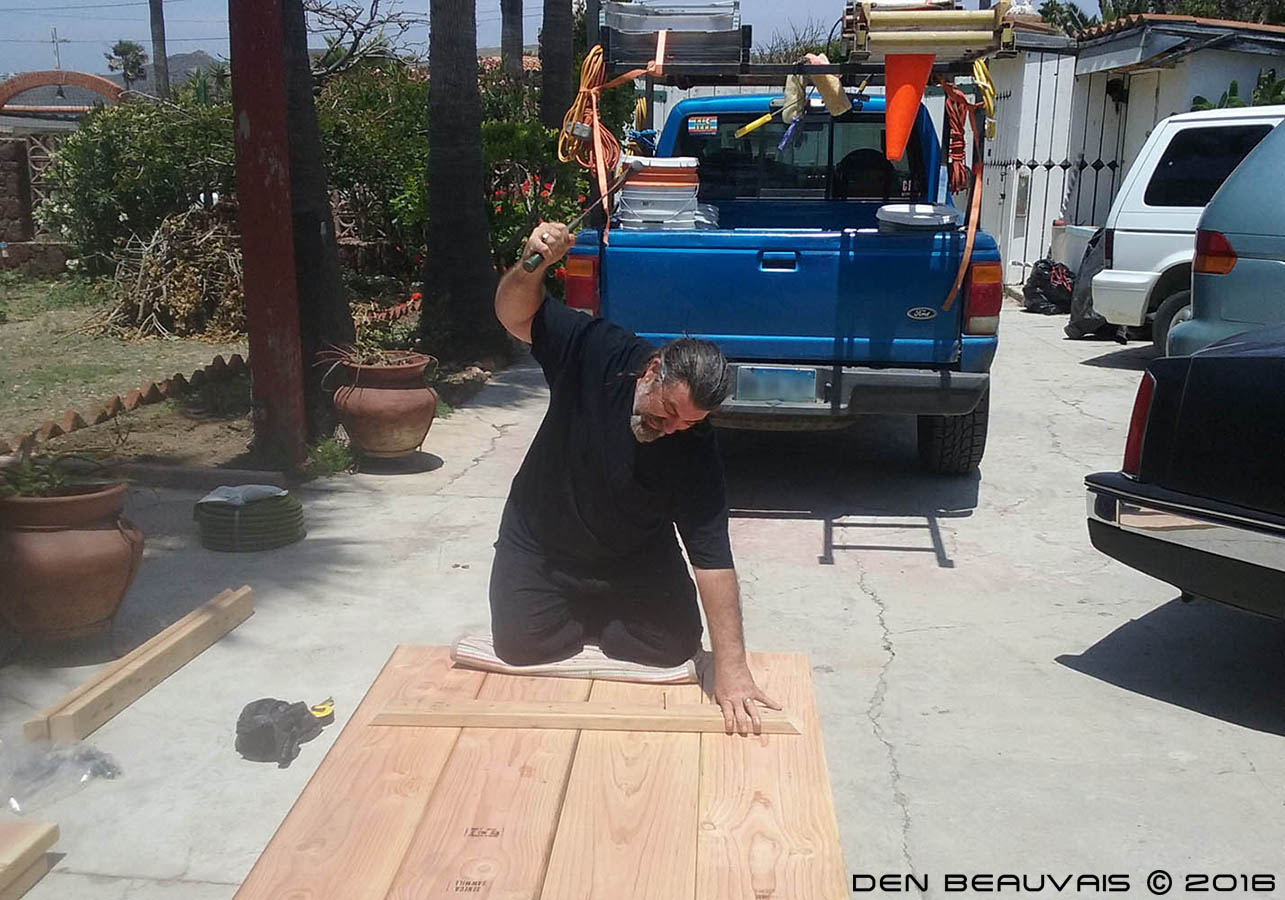
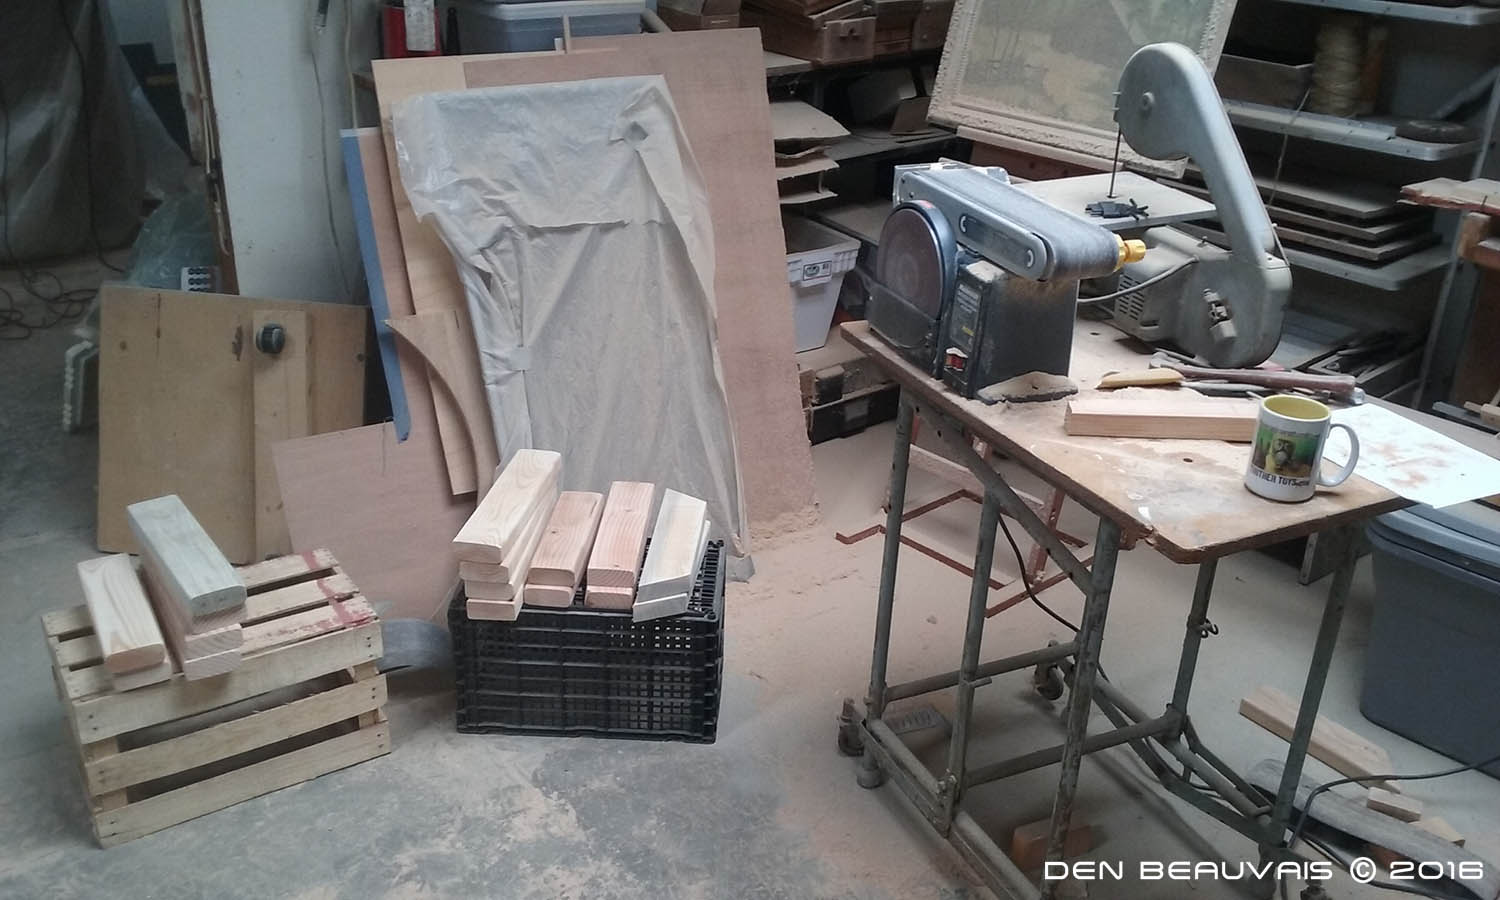
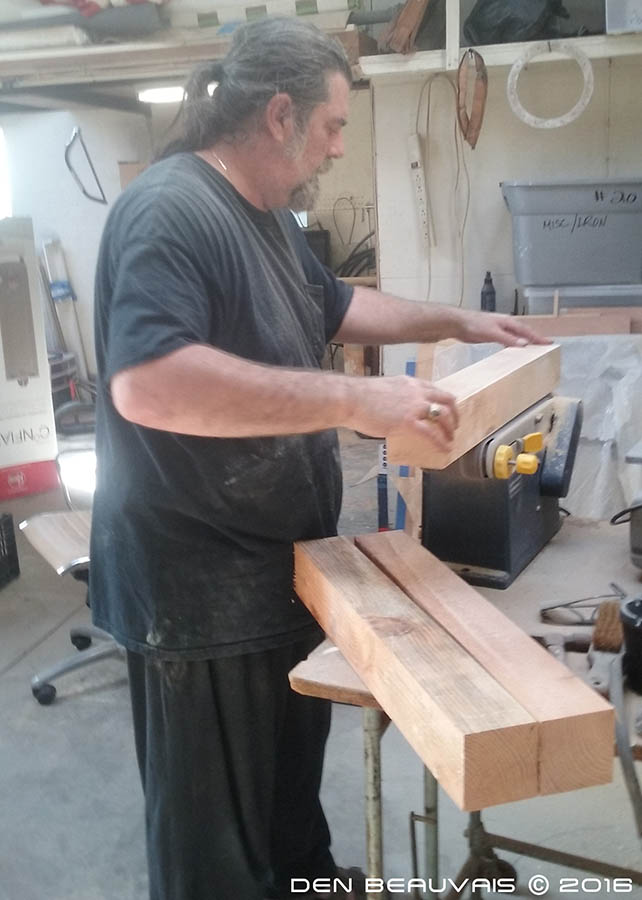
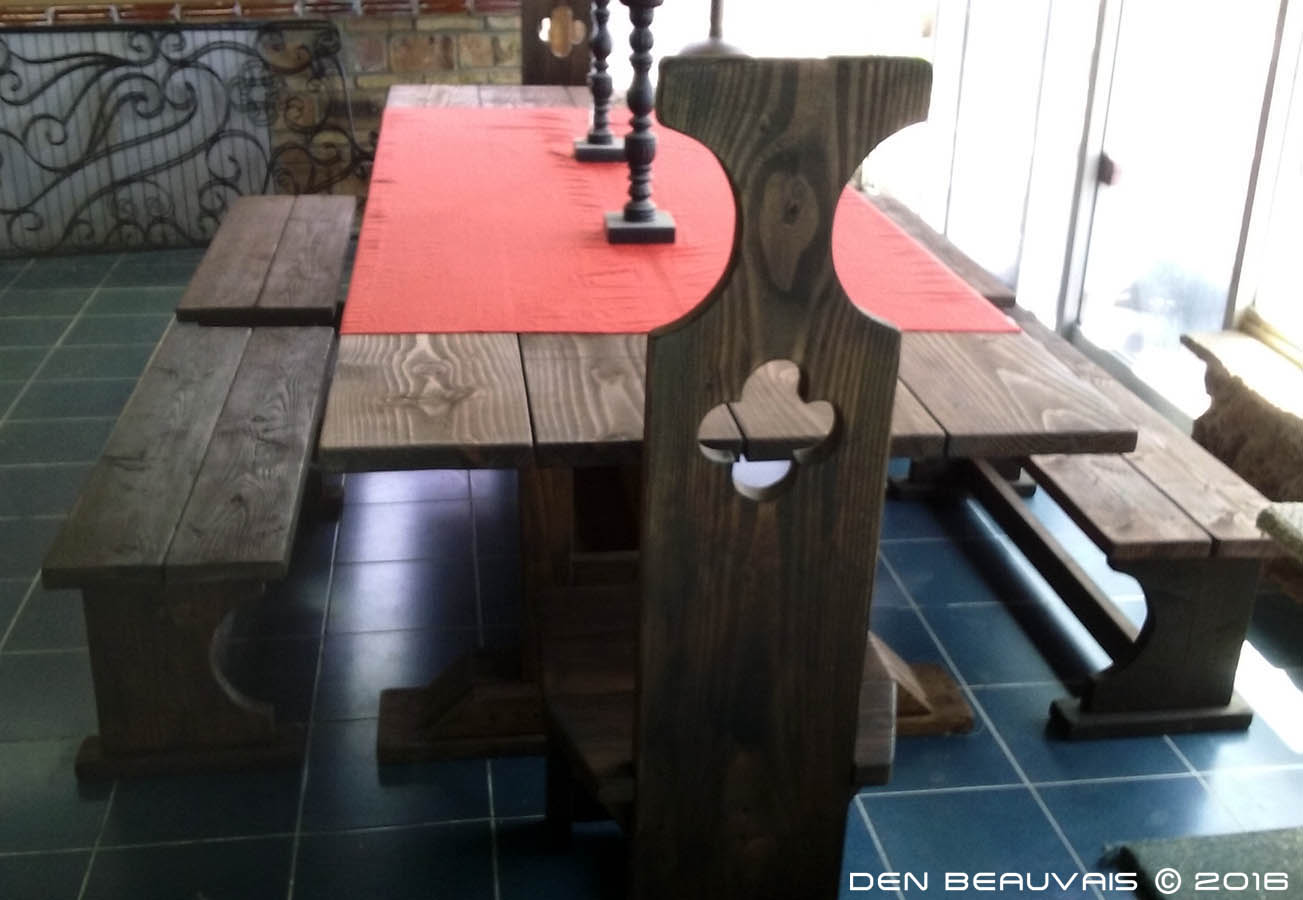
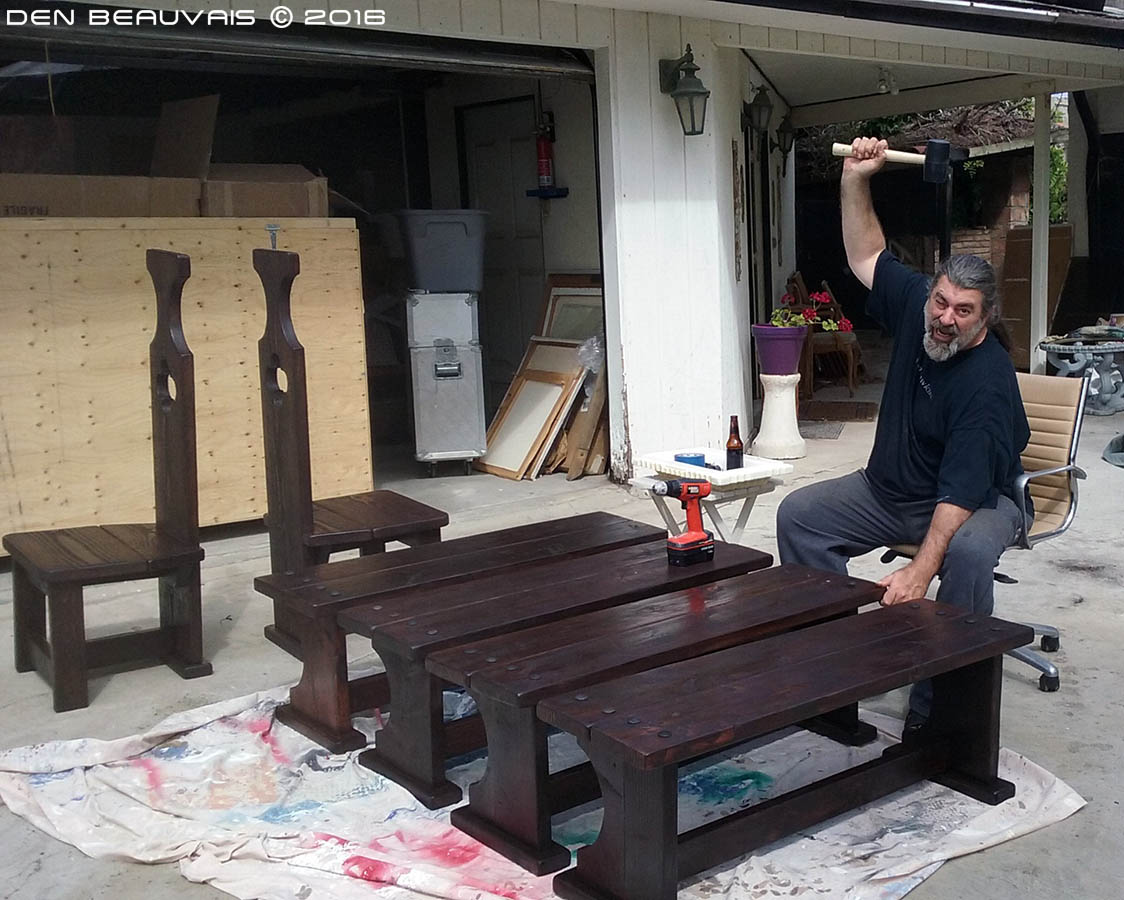
| Next step...getting the wood (Pine in this case) and all the materials needed. Next - hammer the hell out of it. Hahaha! Kidding, I only hammered in a few nails on the underneath table board supports just to hold it together in order to flip it over and screw the top 4 (2"x12"x10') boards. After I got the table top done I built the legs out of 4"x4",2"x8" and 2"x4"s. Nothing too fancy...wanted to keep it simple and sturdy. |
 |
 |
 |
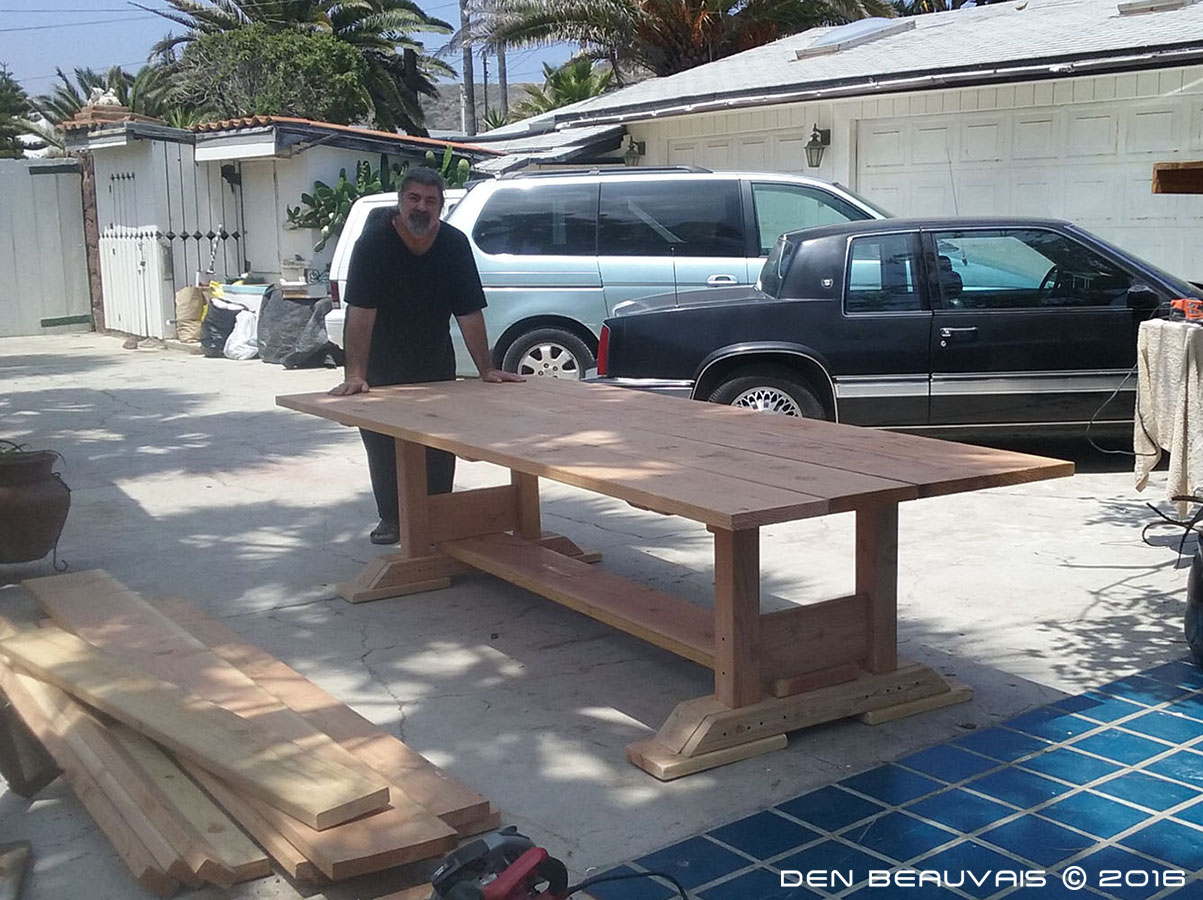
| With some help I put all the pieces together to sand the table top. Then built 1 bench to see if that look would work and then stained it all. Back in to the workshop and made 3 more benches simultaneously. |
 |
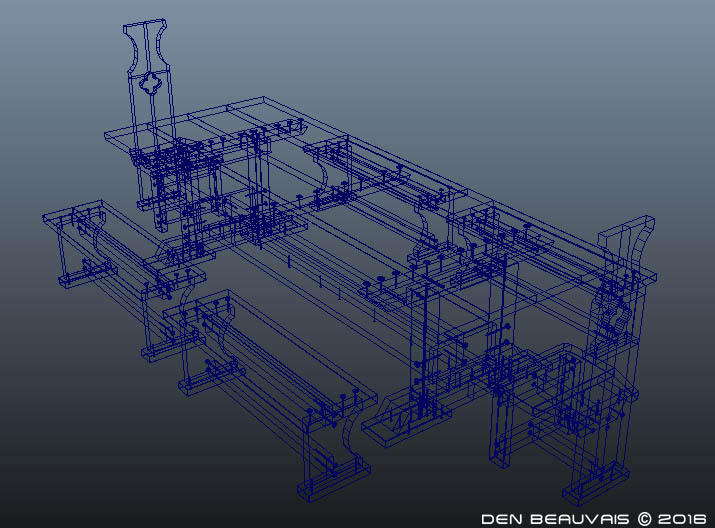
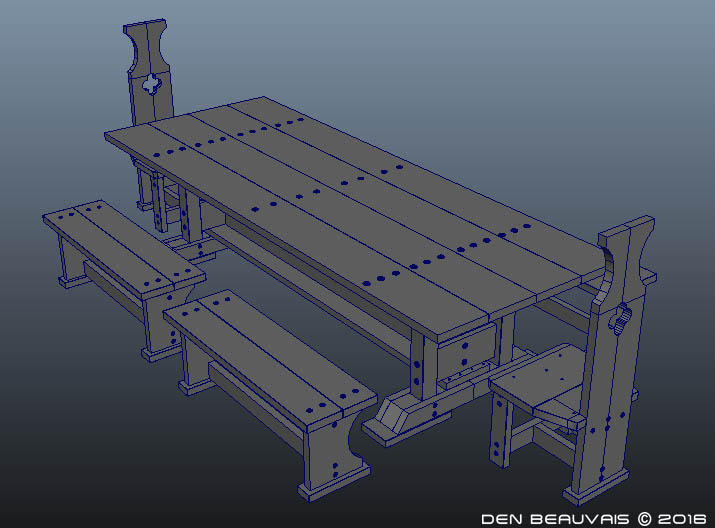
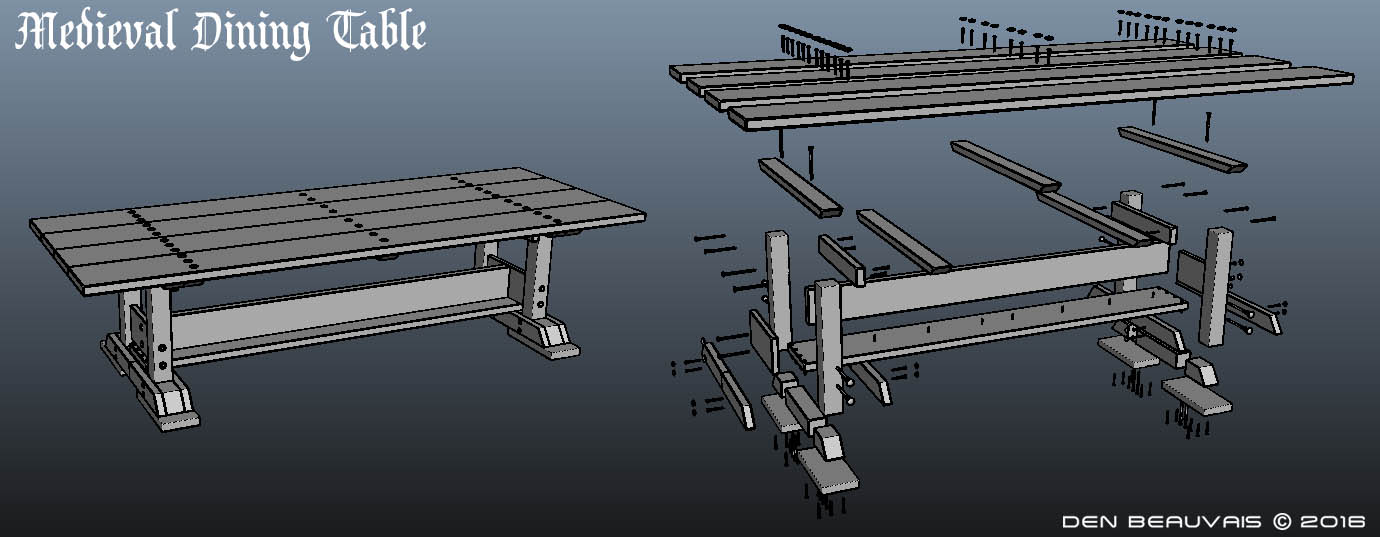
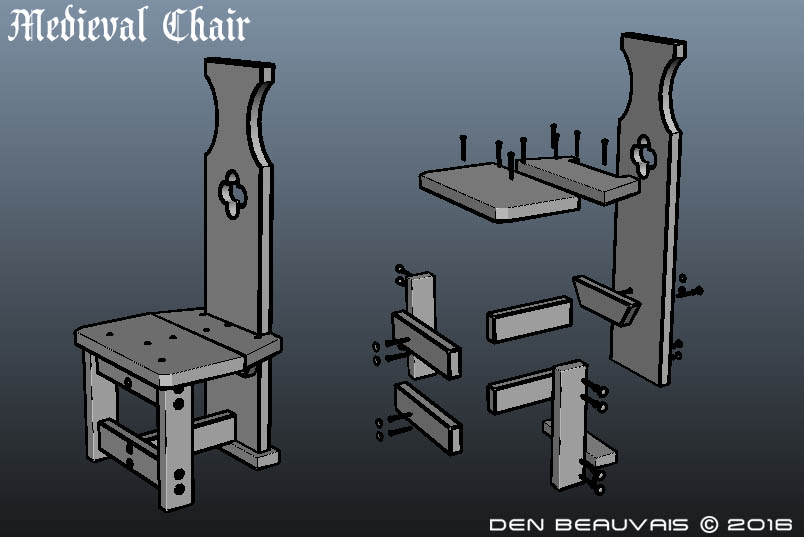
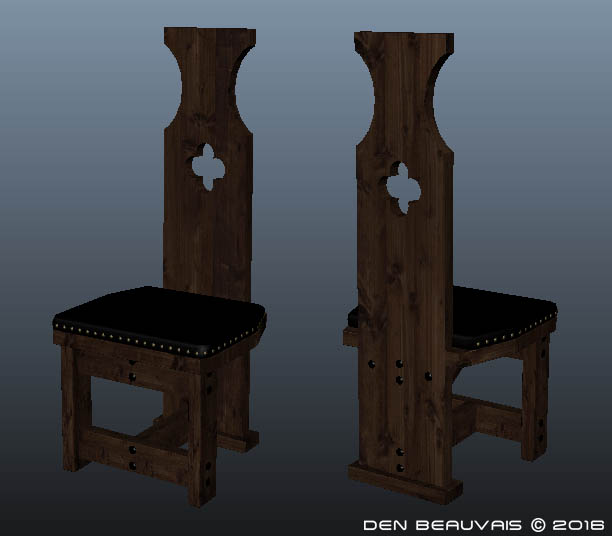
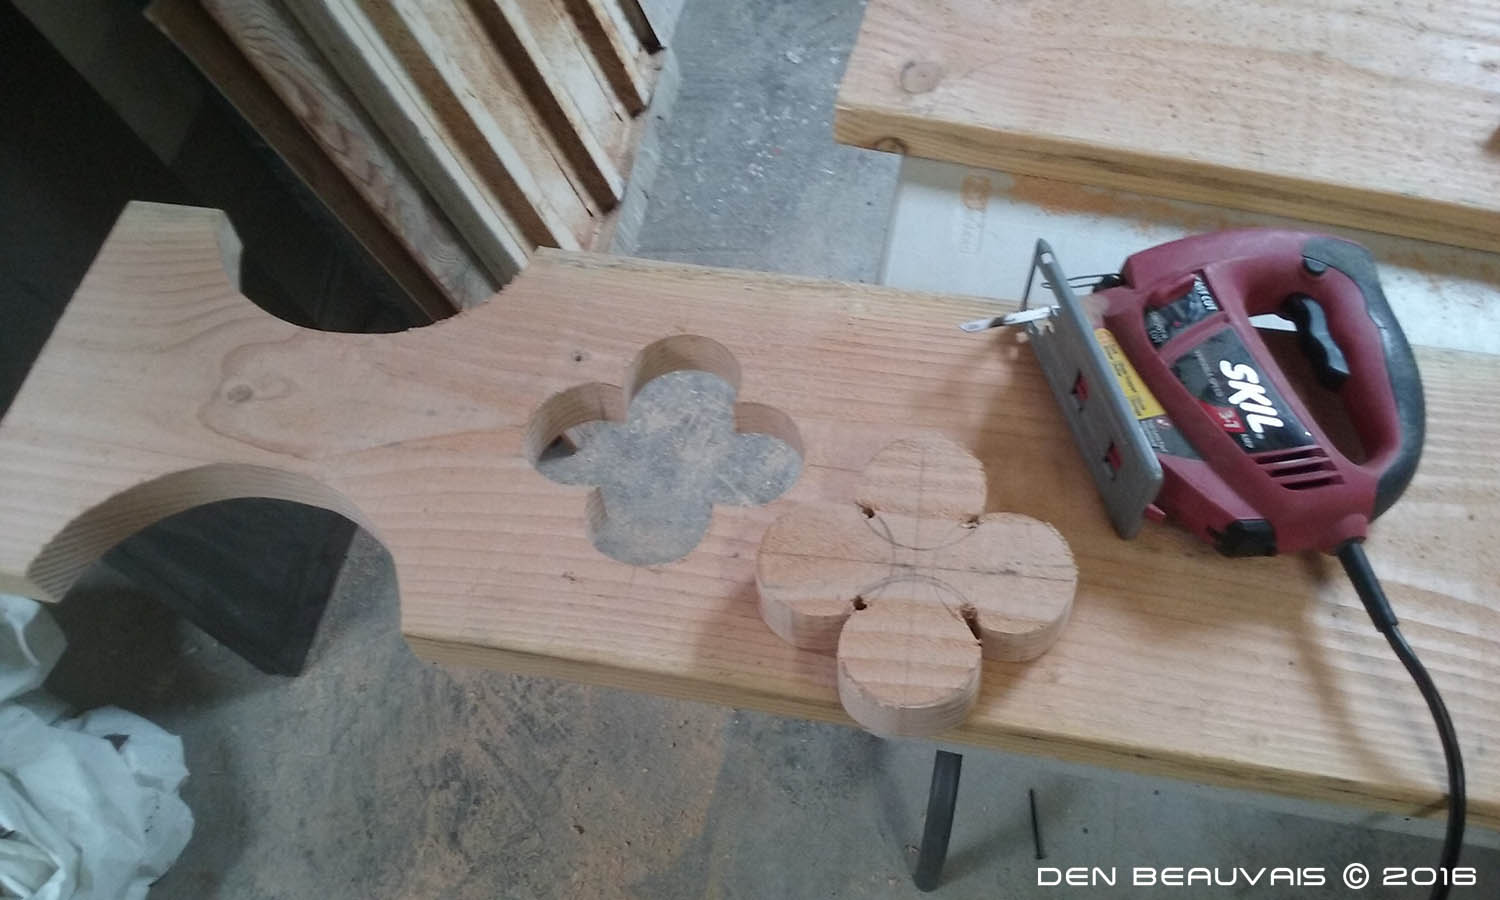
| Next...back to the computer to design the end Captain chairs in Maya. I animated this explode to show exactly how the pieces fit together and the screws needed. |
 |
 |
 |
 |
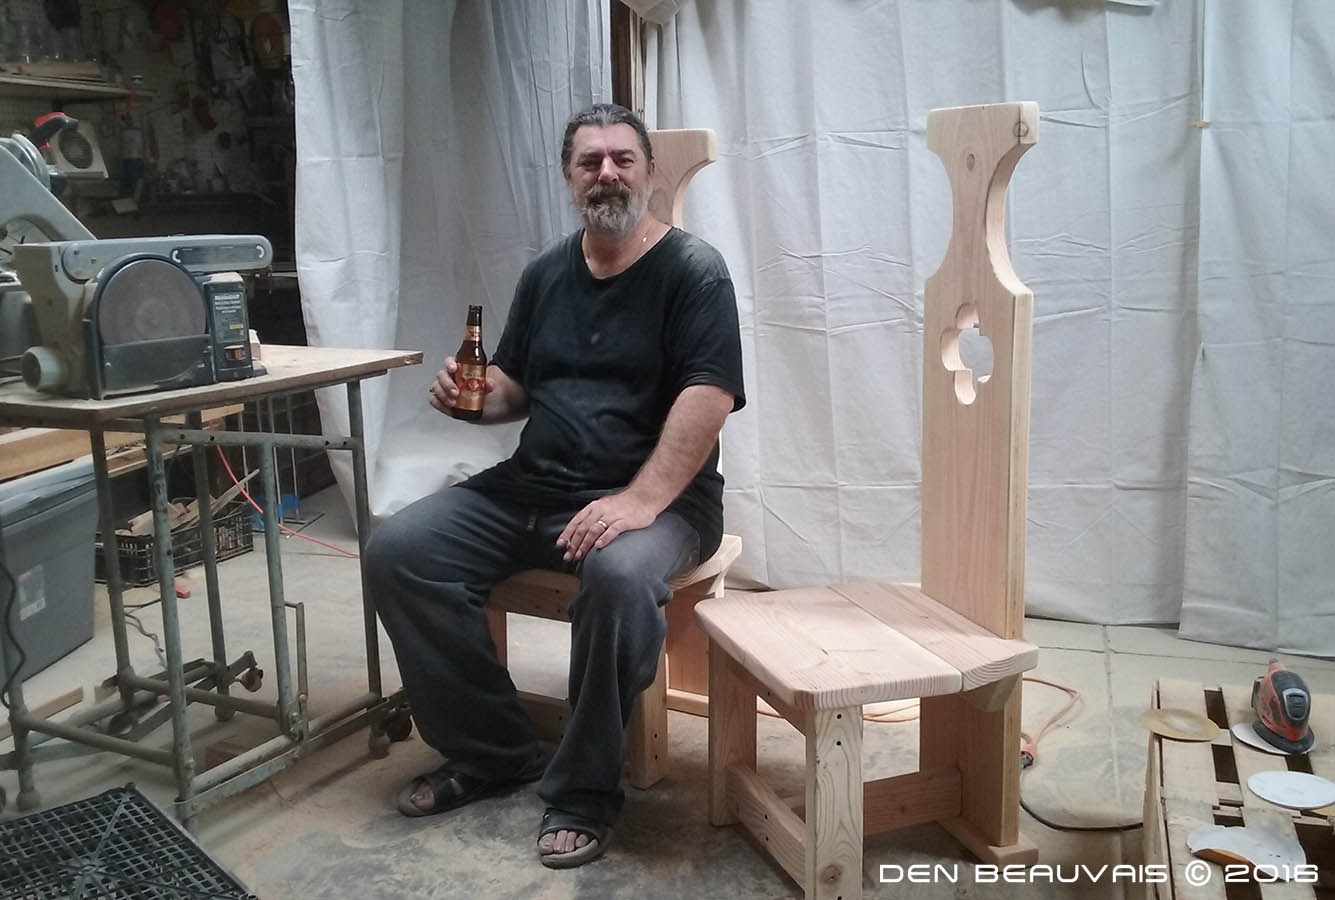
| After designing several versions with arms I decided to drop them...they just didn't fit the overall look. |
 |
 |
 |
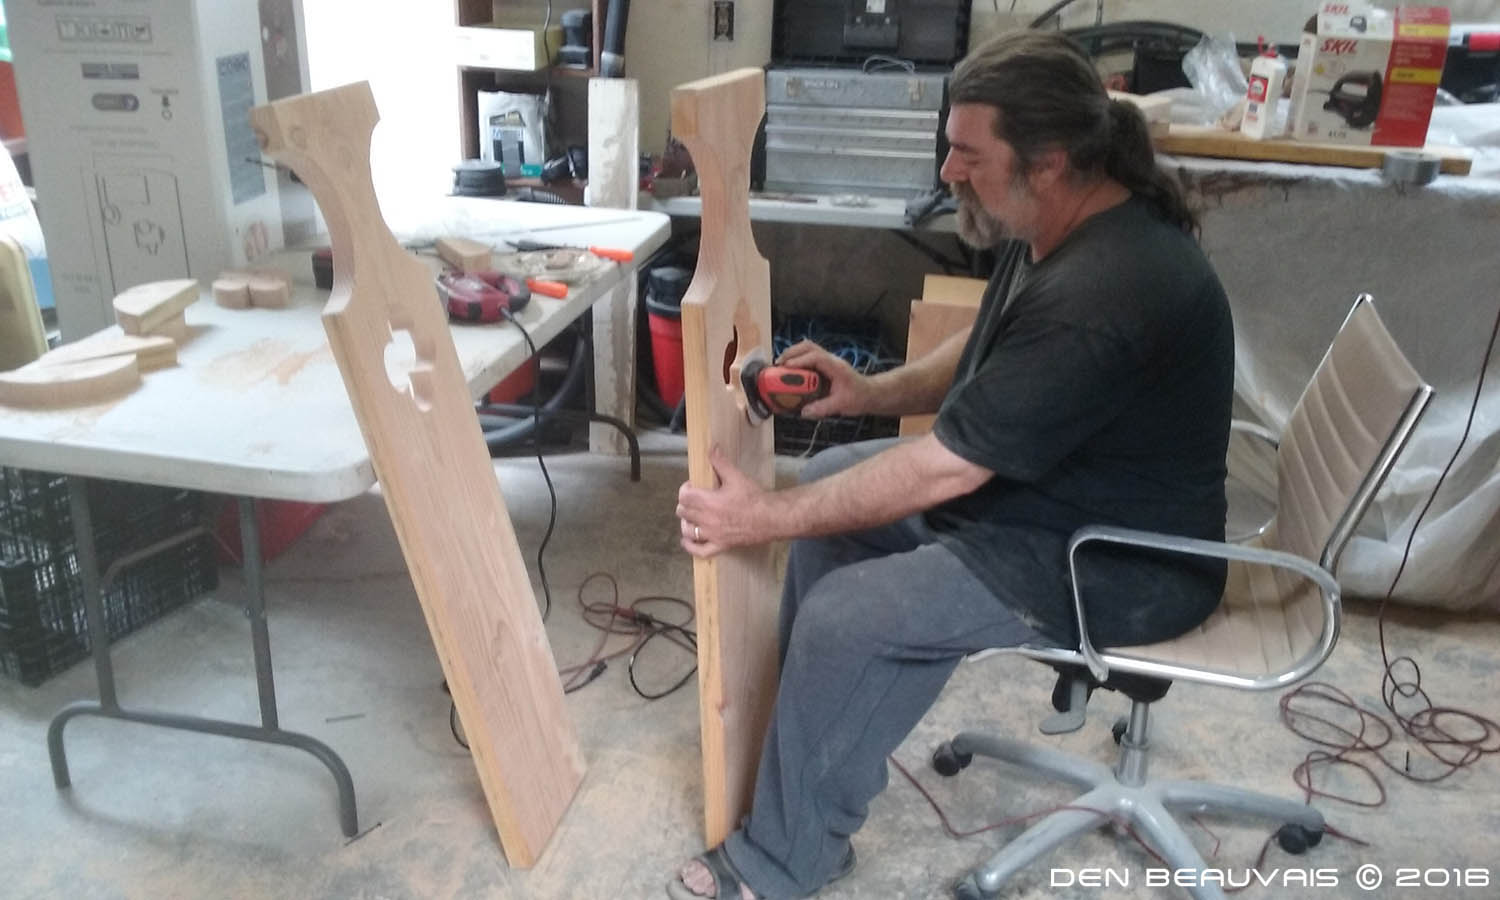
| Sanding...sanding...sanding...4:20 Brake time and then back to sanding. Screwing the chair pieces together was a piece-o-cake and then stained them. |
 |
 |
 |
 |
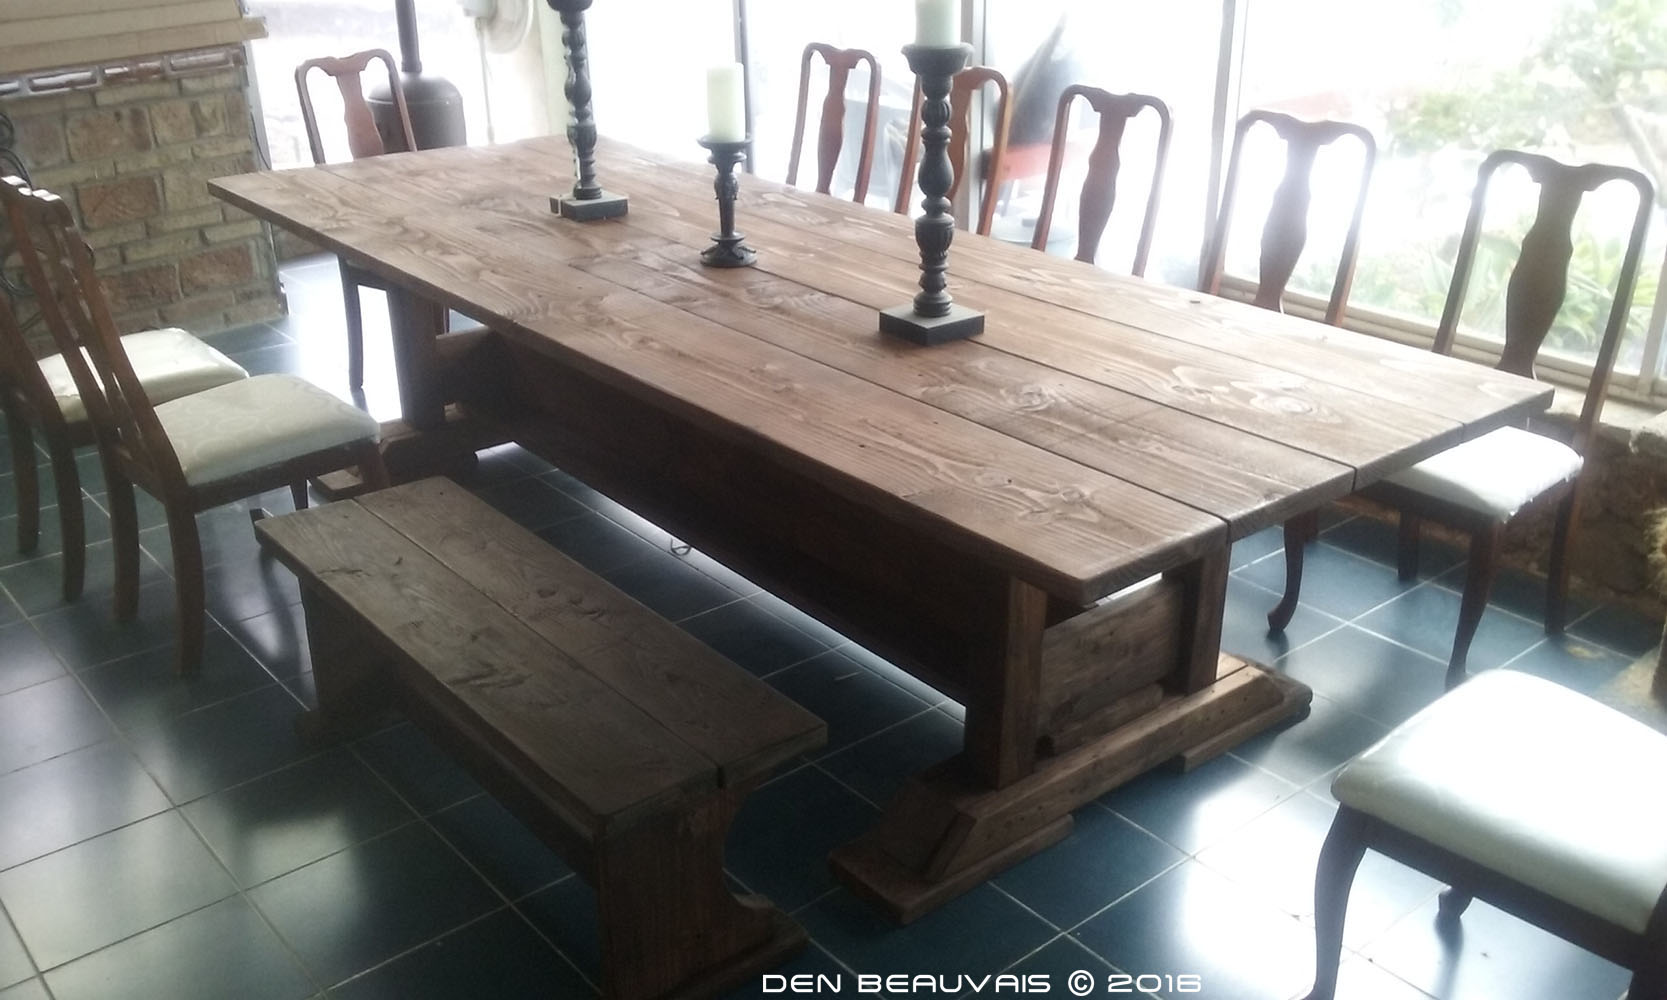
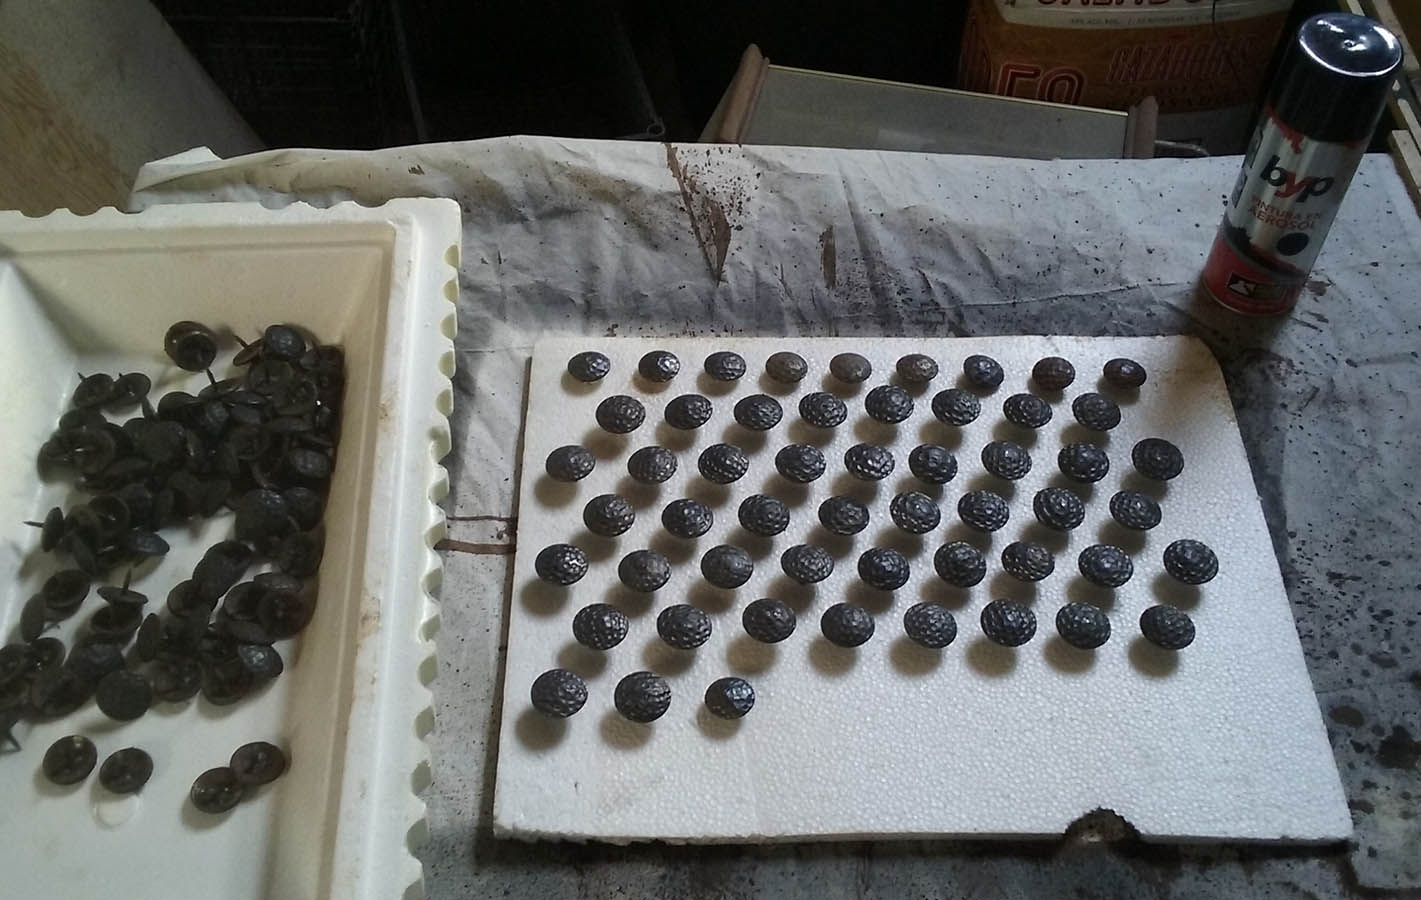
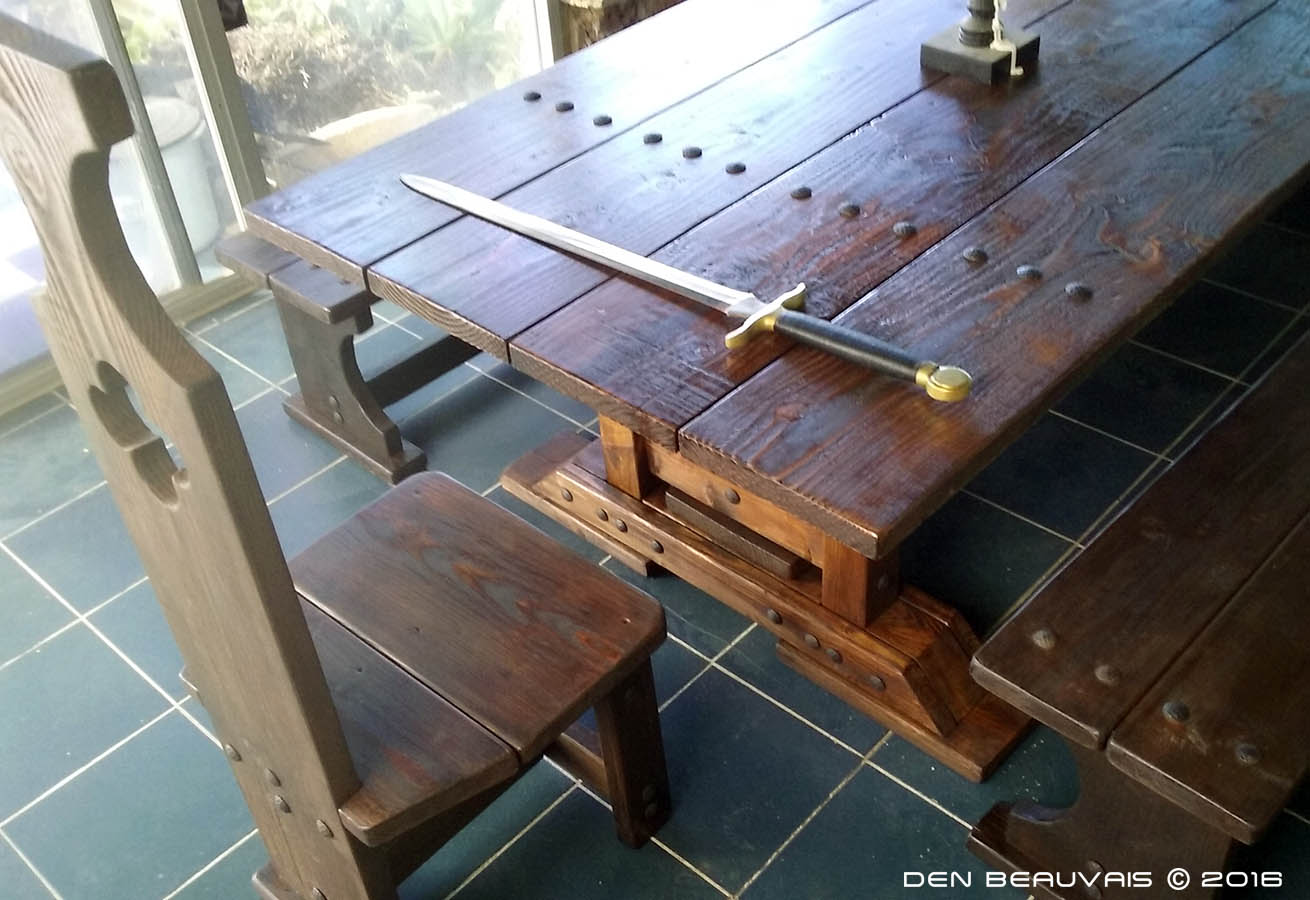
| Table,benches and end chairs are assembled. Next step - final varnish, make end chair cushions and hammer in about 220 clavos (medieval studs) to cover up screw heads and also giving it a more medieval look. |
 |
 |
 |
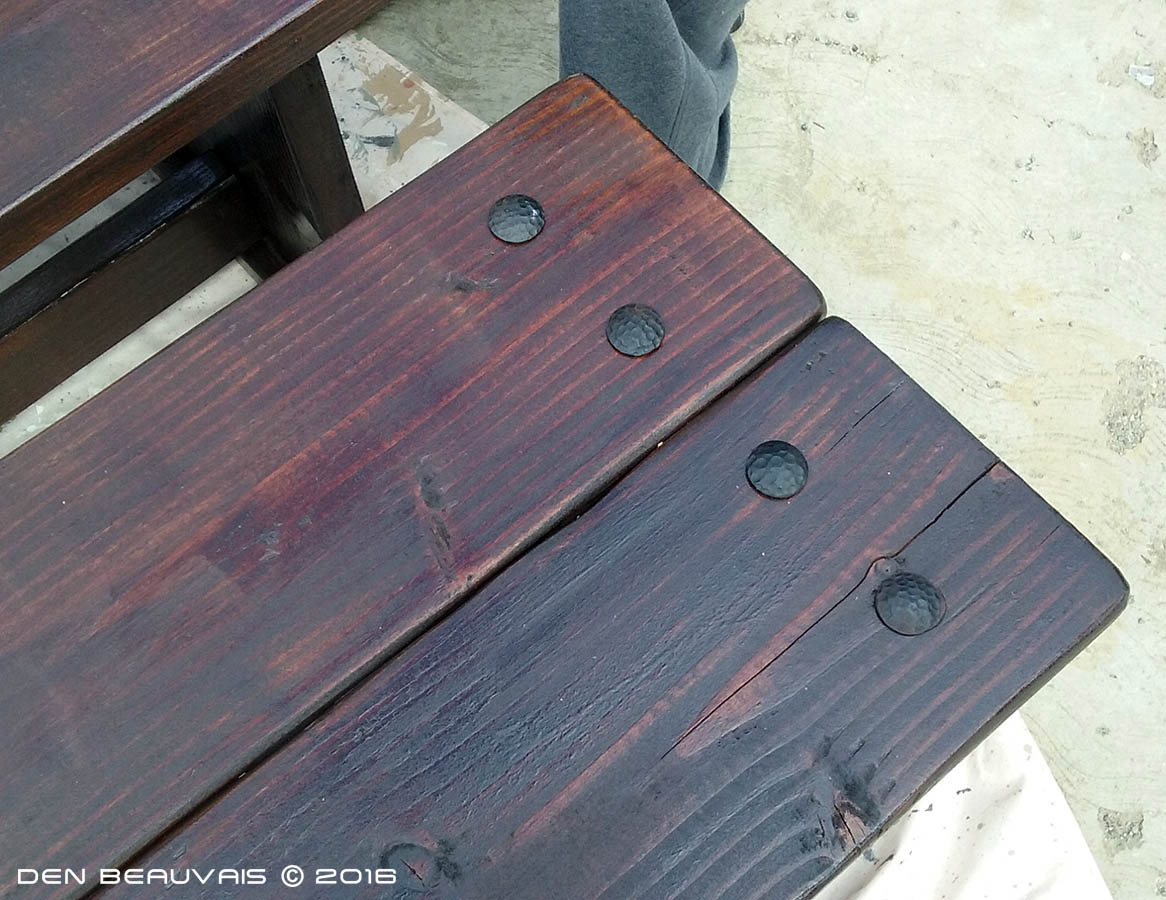 |
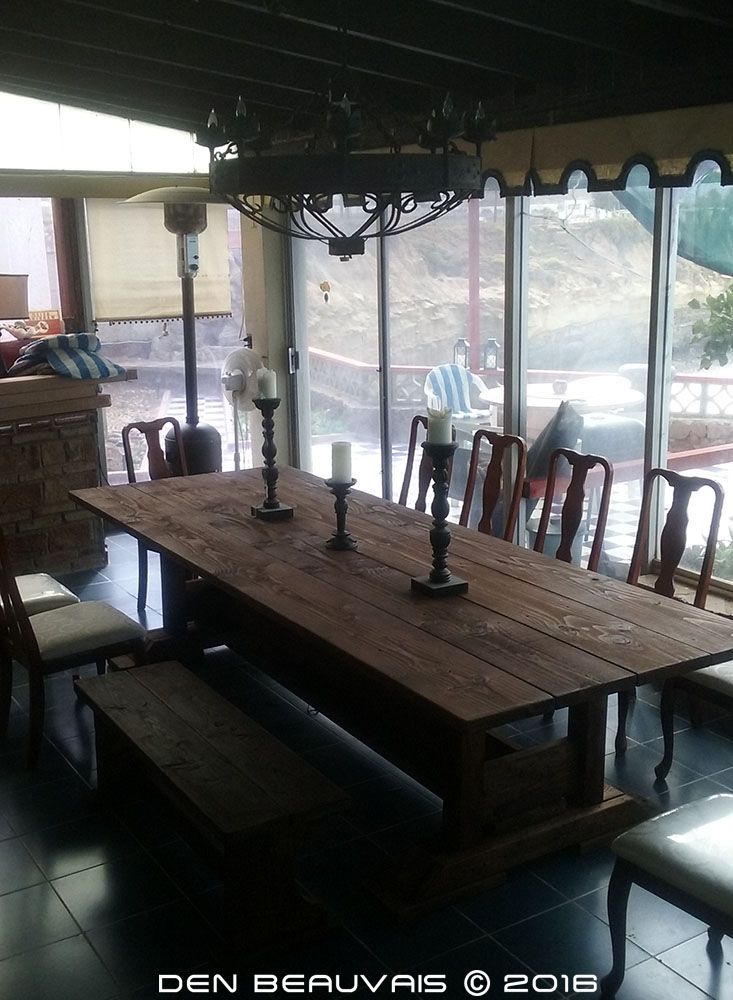
| Clavos hammered and varnish applied. |
 |
 |
 |
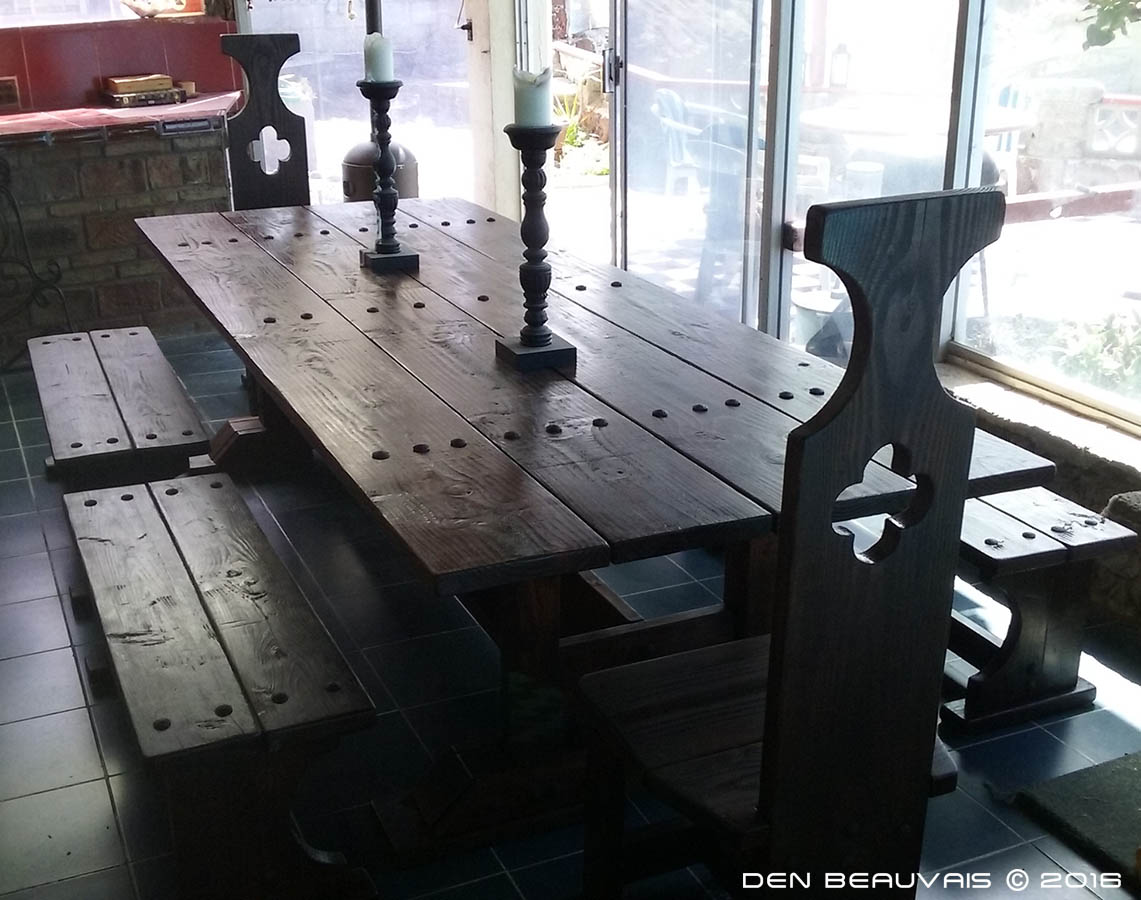
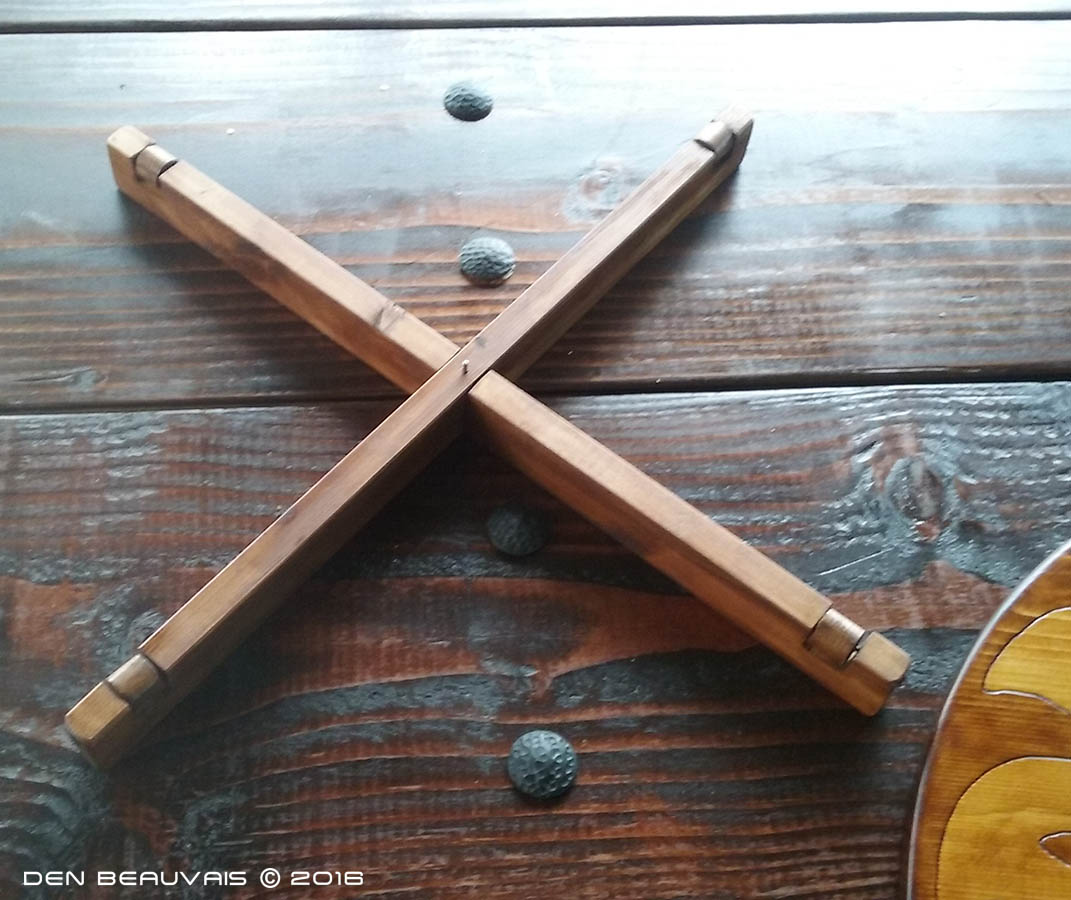
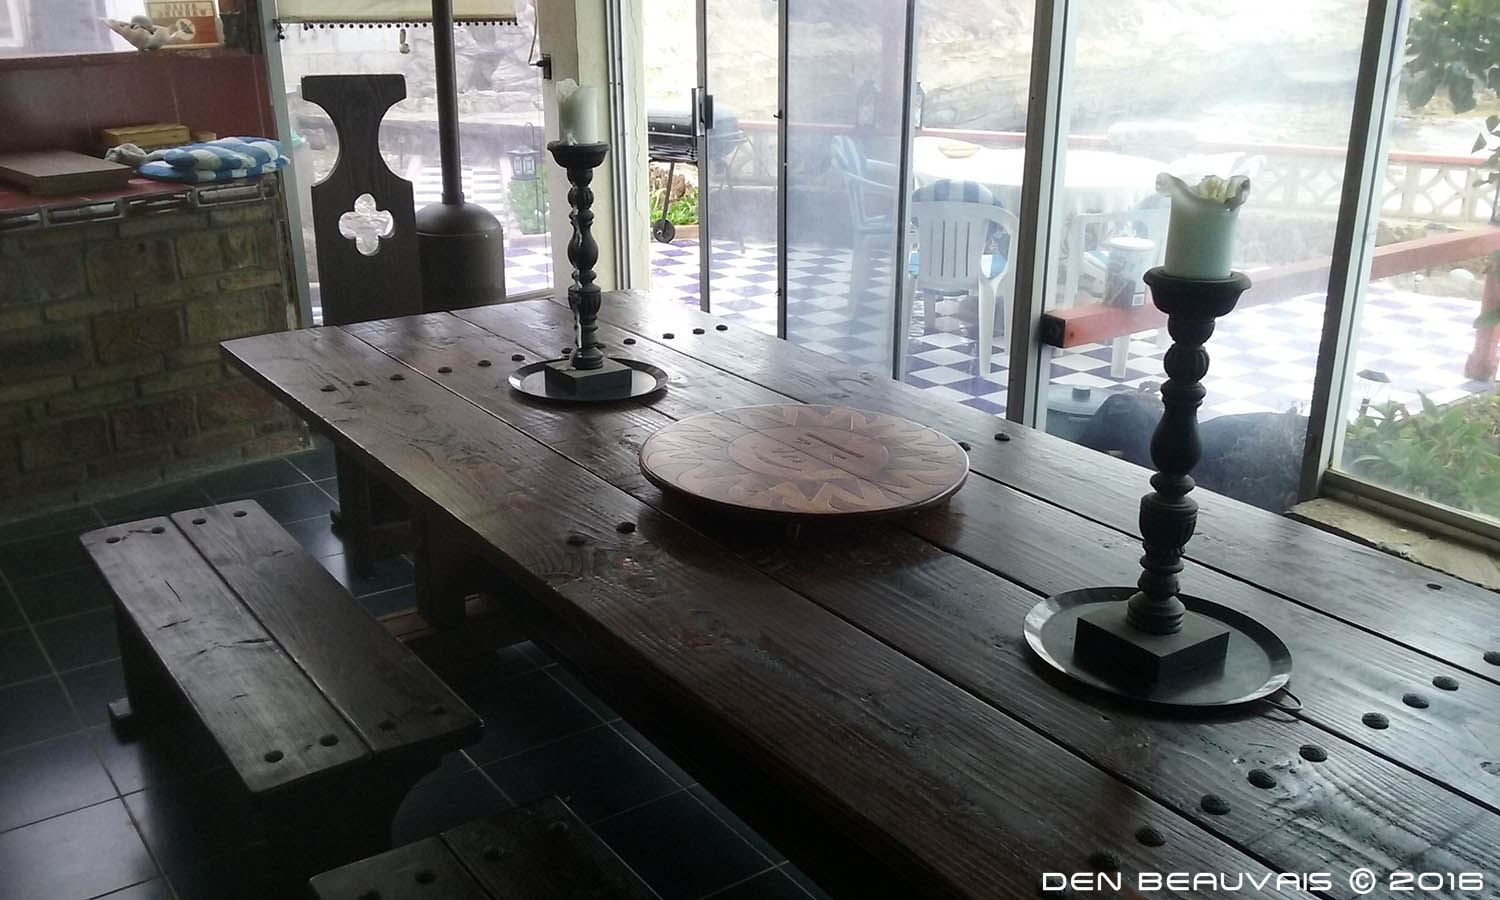
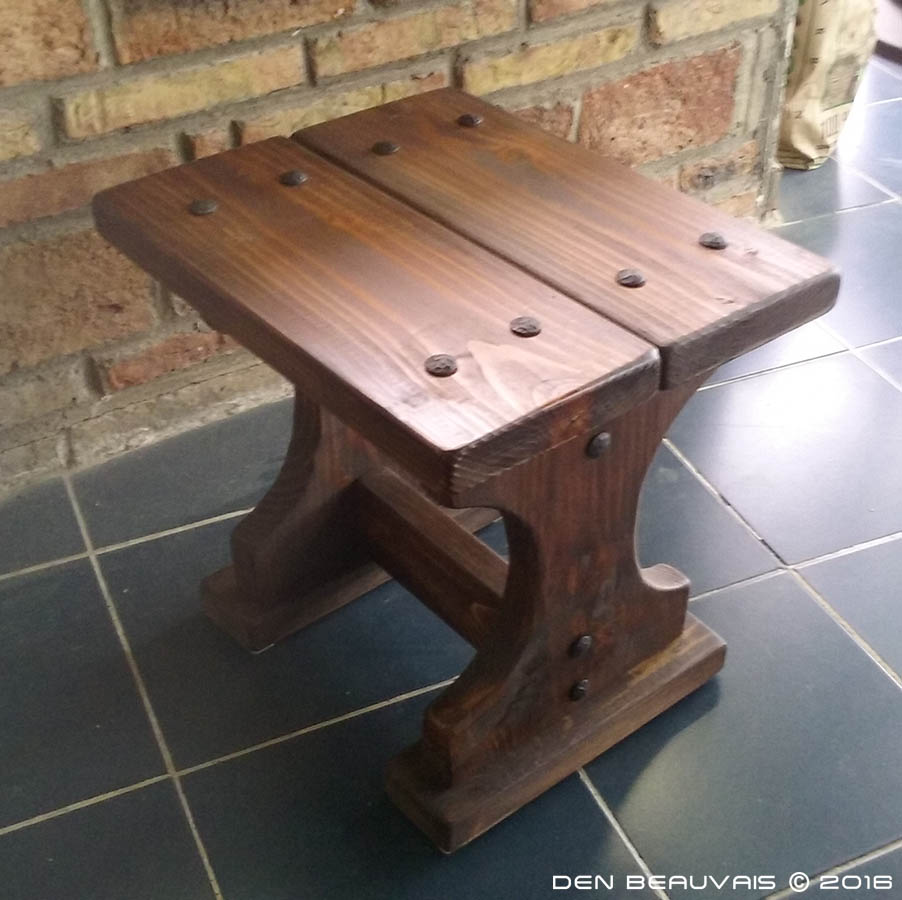
| I felt the table needed a unique Medieval "Lazy-Susan" that could sit over the clavos. So I created a very simple stand held together with a center nail thru an inter-locking cross design. I also created a single seater bench based on the design of the longer benches just in case we have that one extra diner guest. |
 |
 |
 |
 |
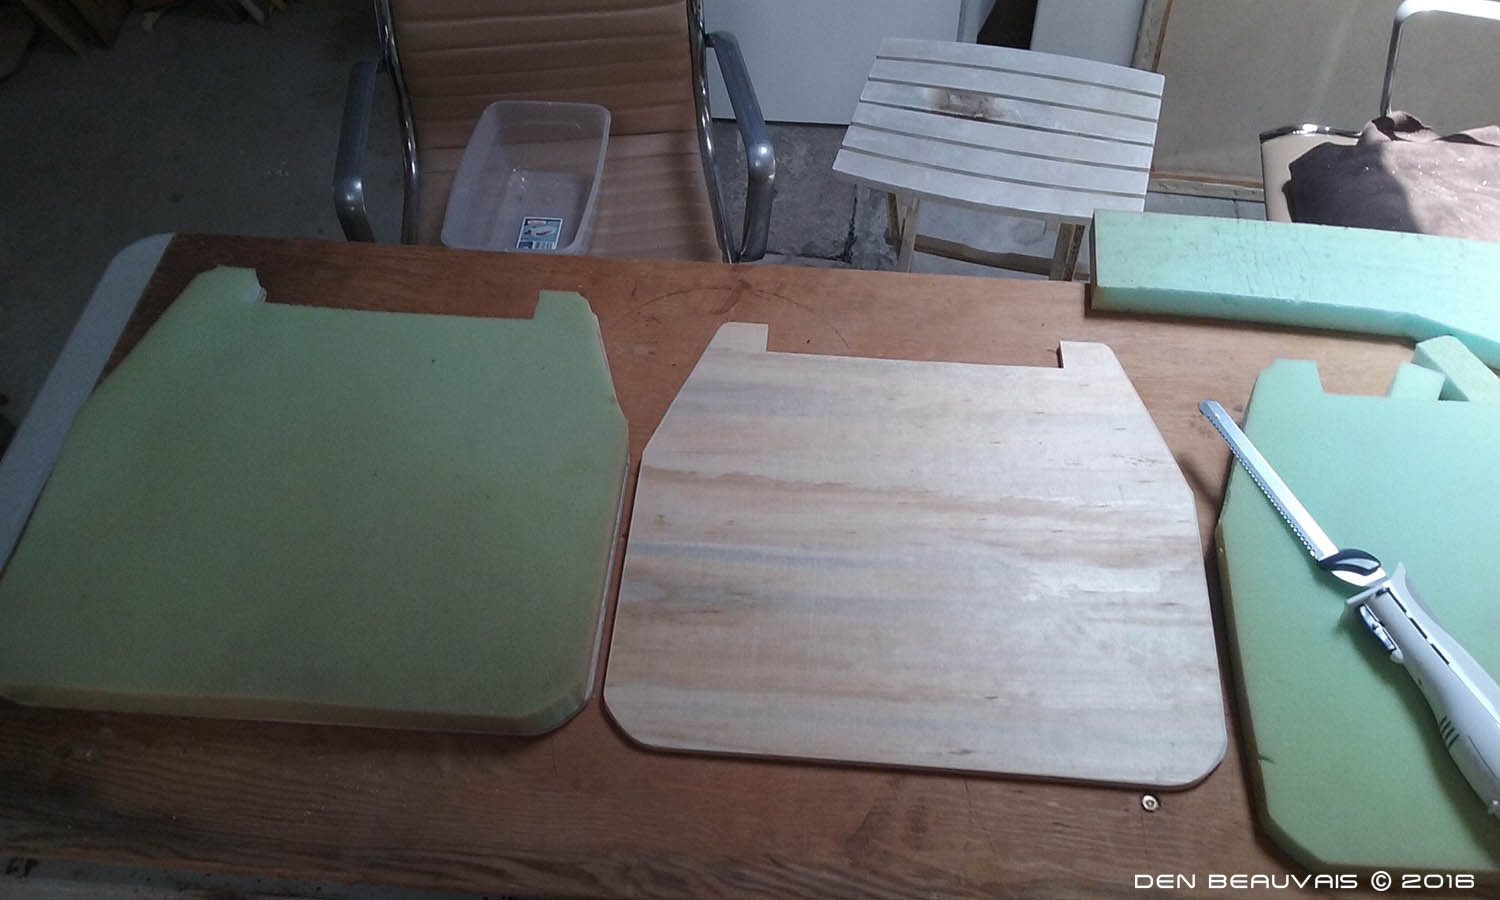
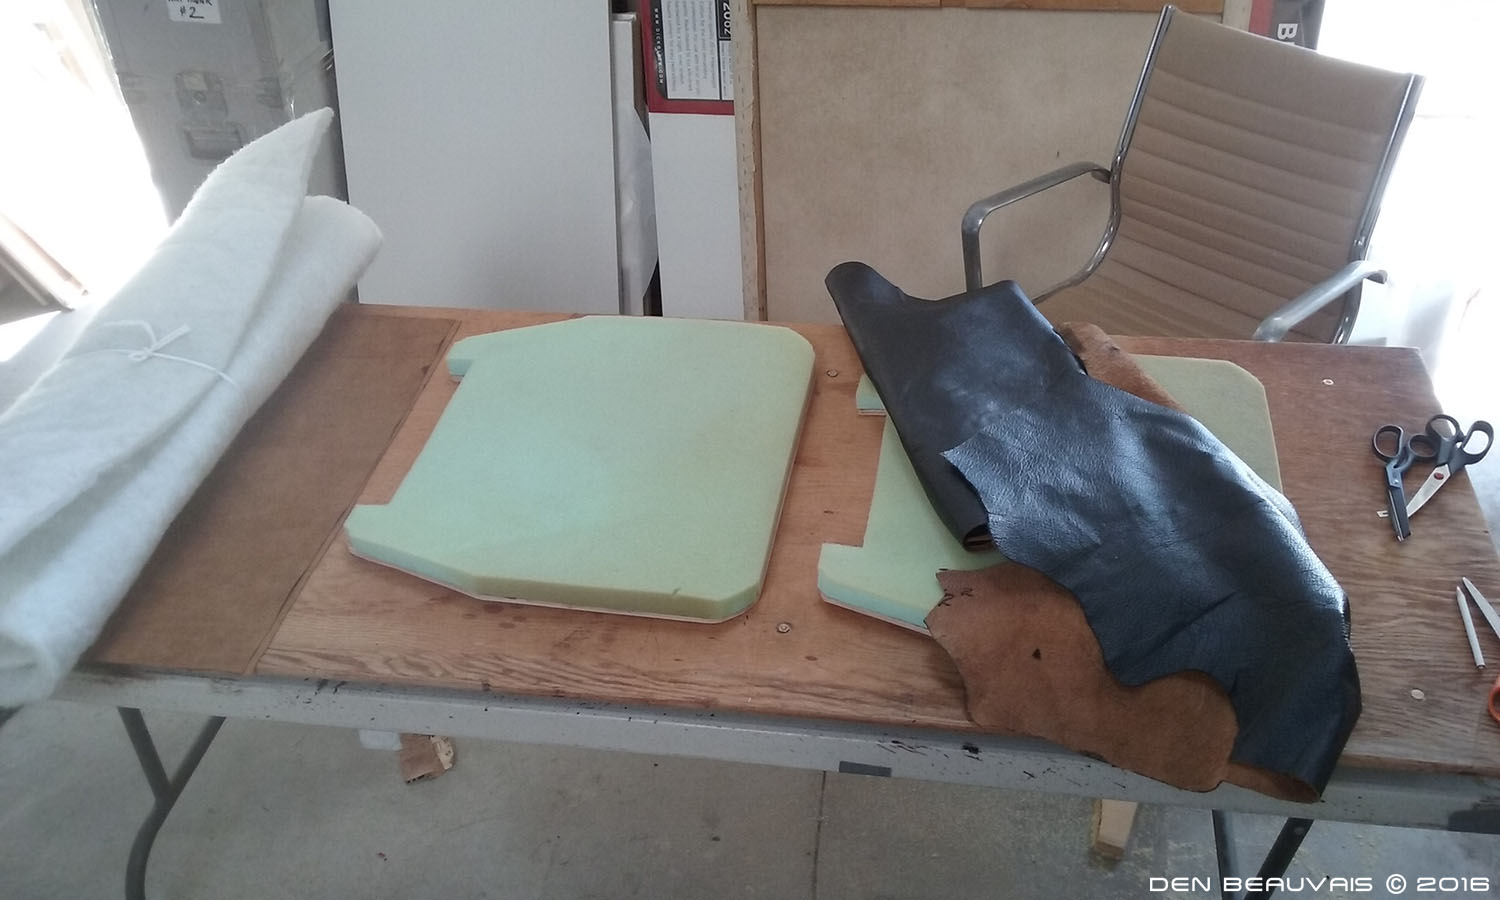
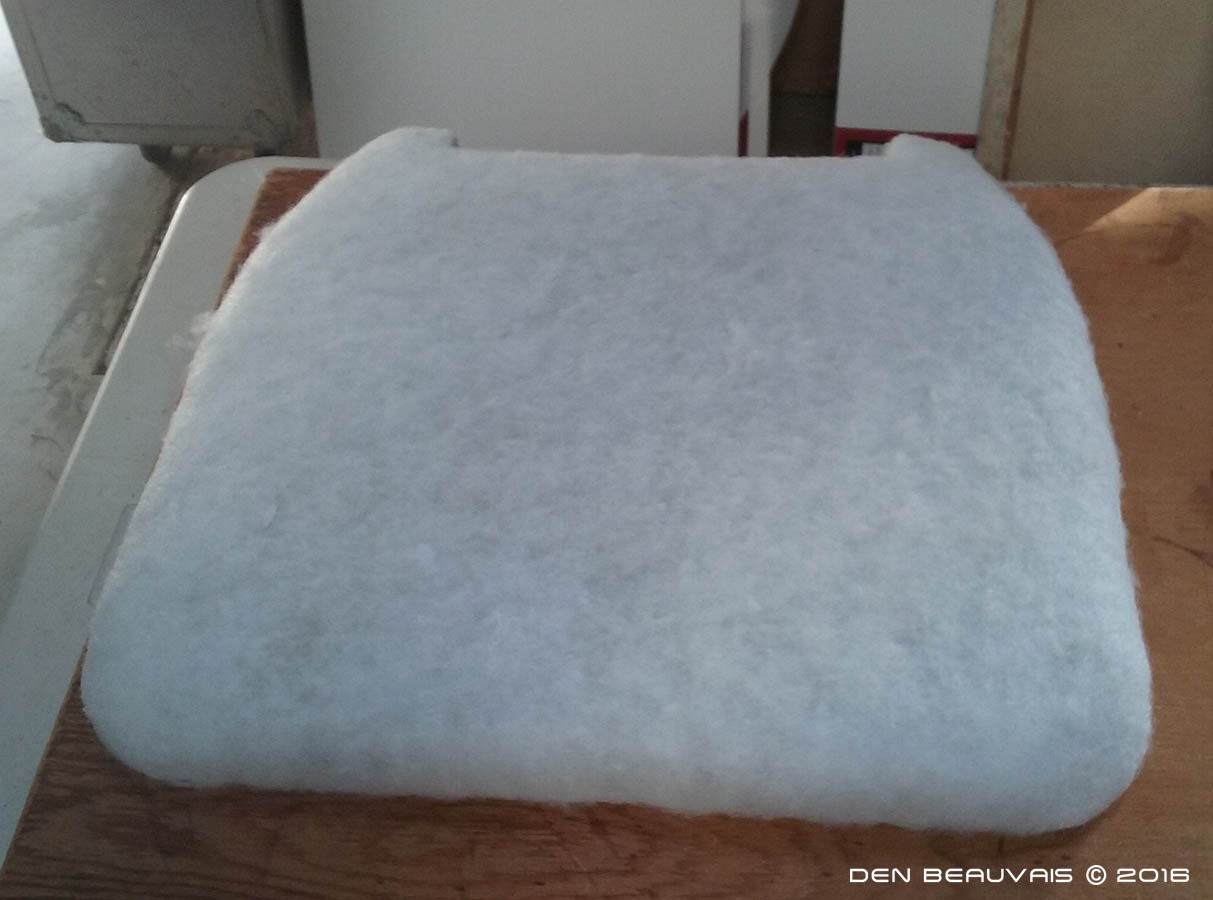
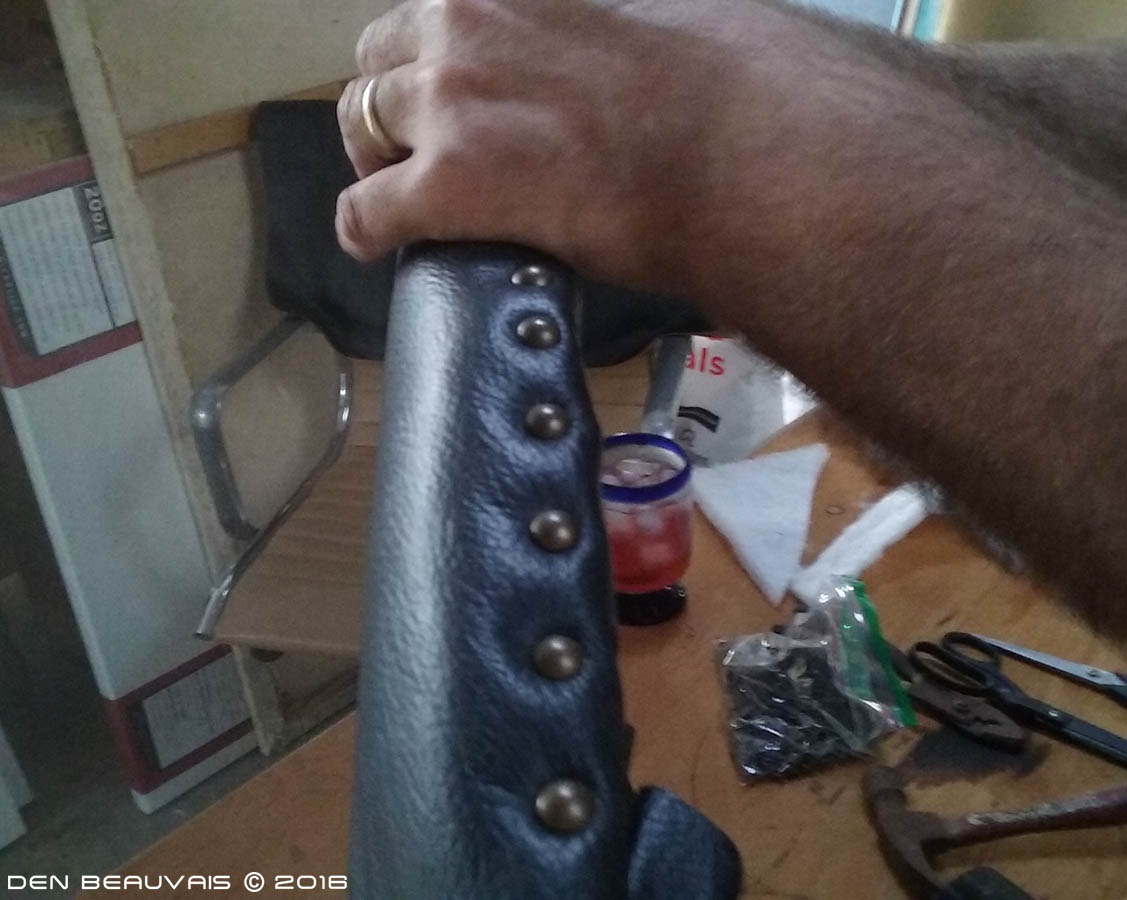
| Upholtery time for the end chairs. I got a nice piece of black leather hide and built wooden platforms to fit over the chairs held into place with the back rest. Cut some foam to fit and spray glued it down and then covered them with cotton batting then stapled. |
 |
 |
 |
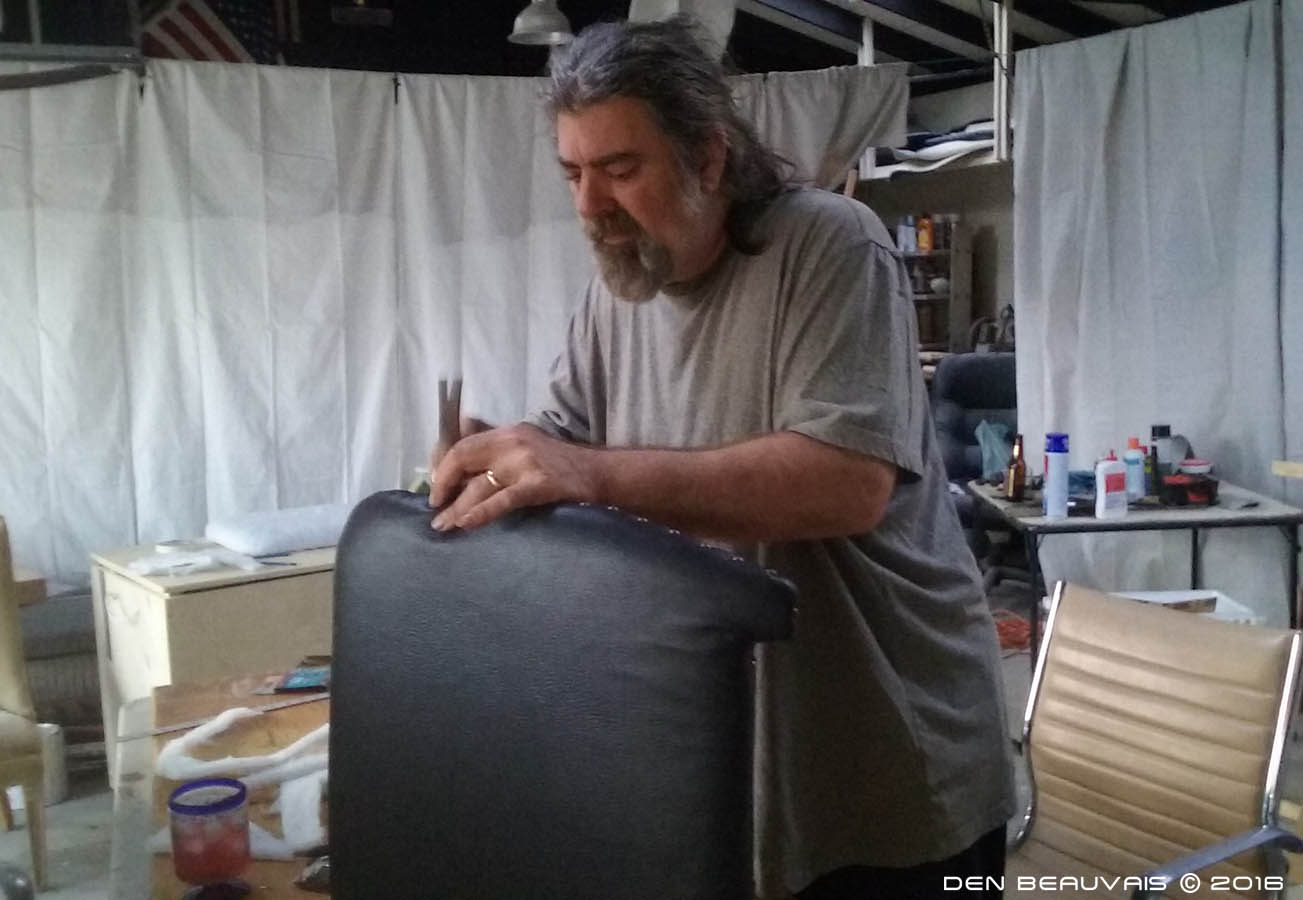
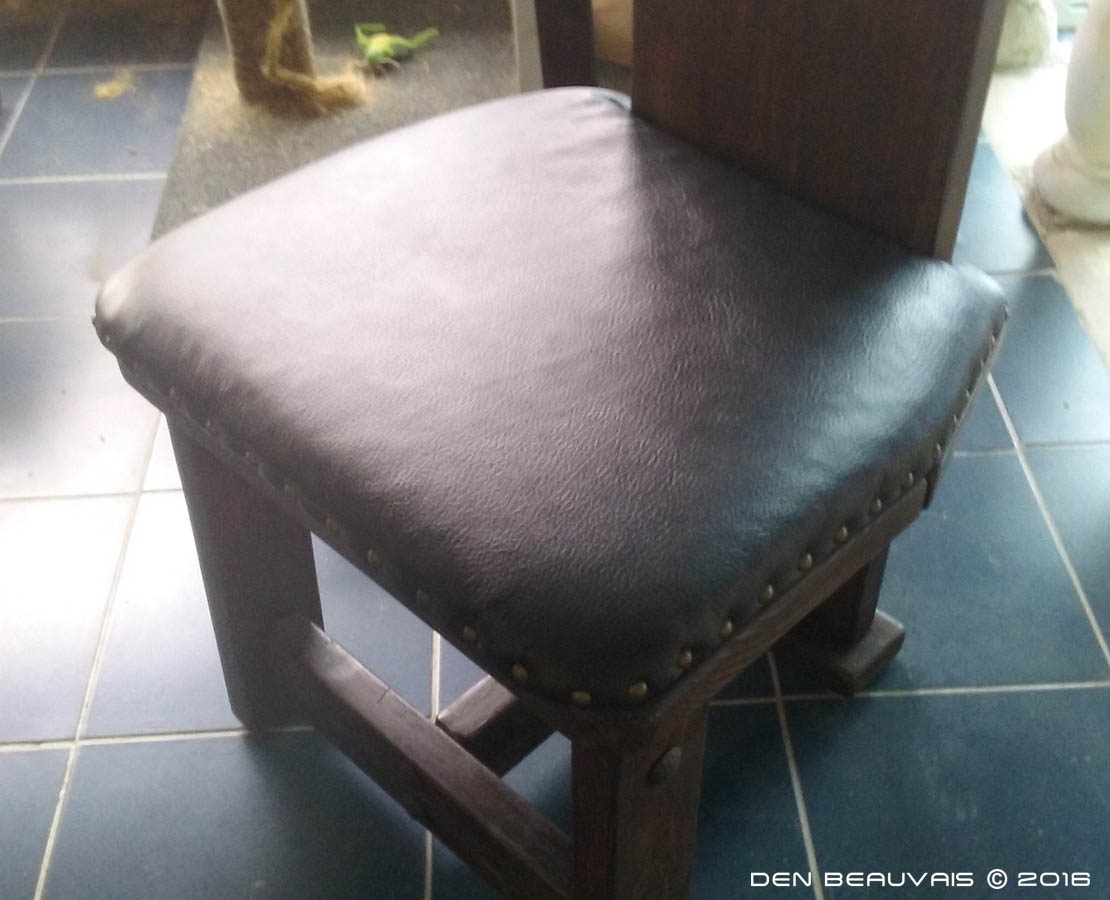
| Once the leather was all stapled down I added smaller clavos or pins along the edge for decoration. |
 |
 |
 |
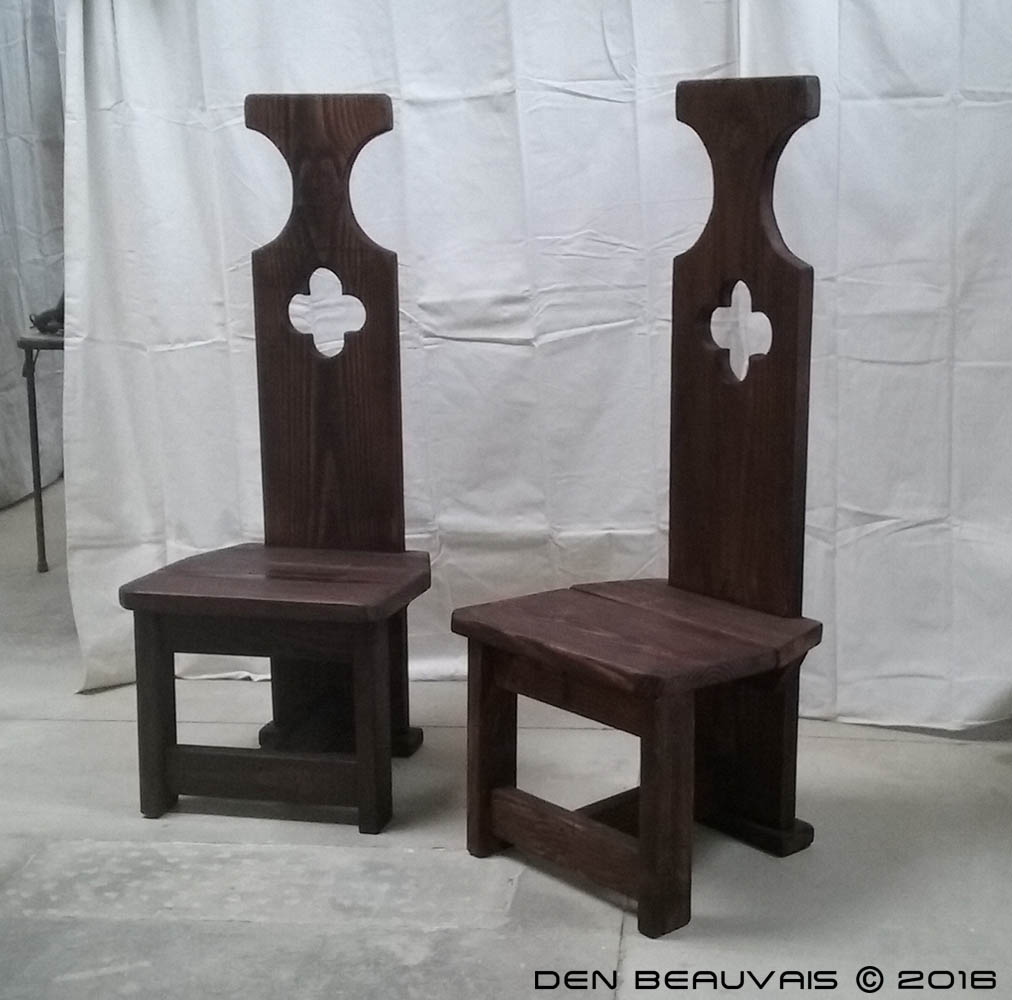
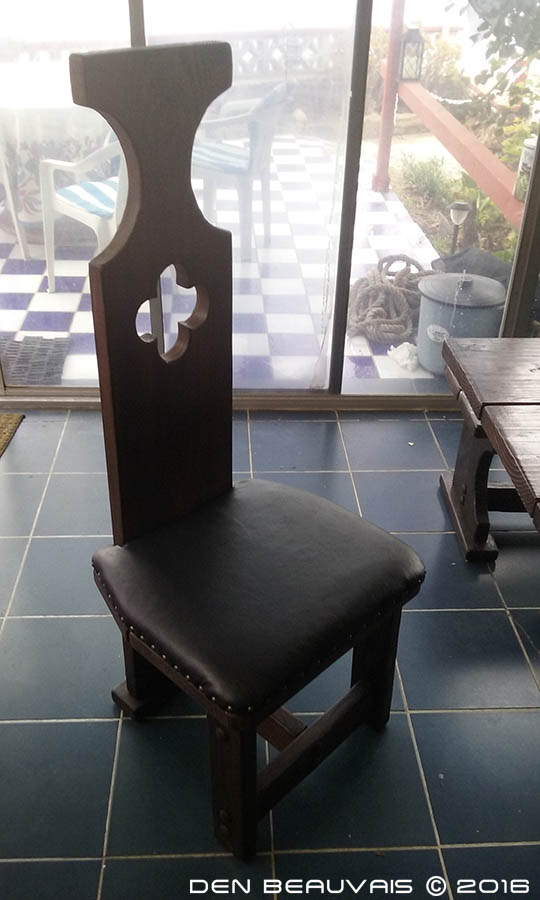
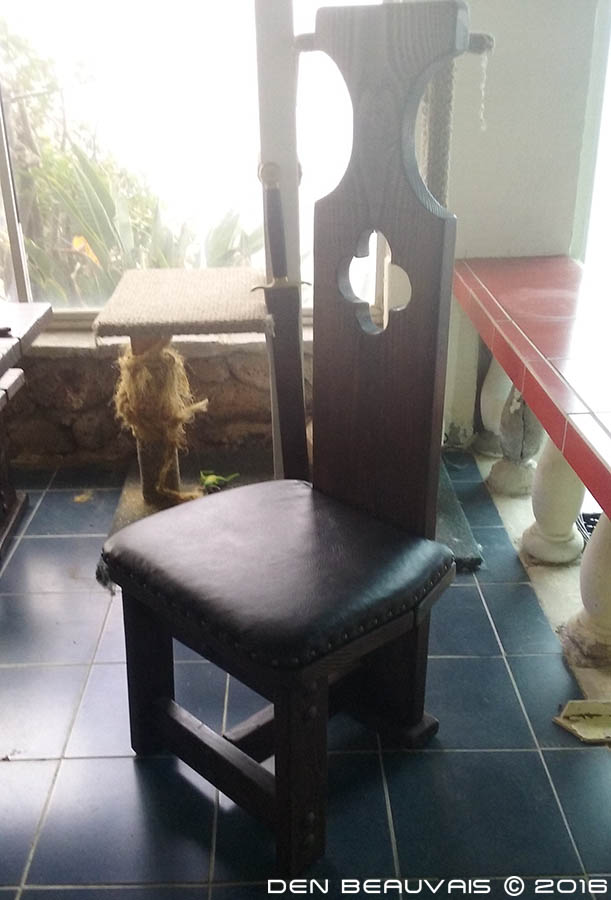
| Finished end chais with leather cushions. I love it! I'm having lots of fun building this dining room set. Now what else can I make for it...oh ya, Medieval candle holders coming soon. |
 |
 |
 |
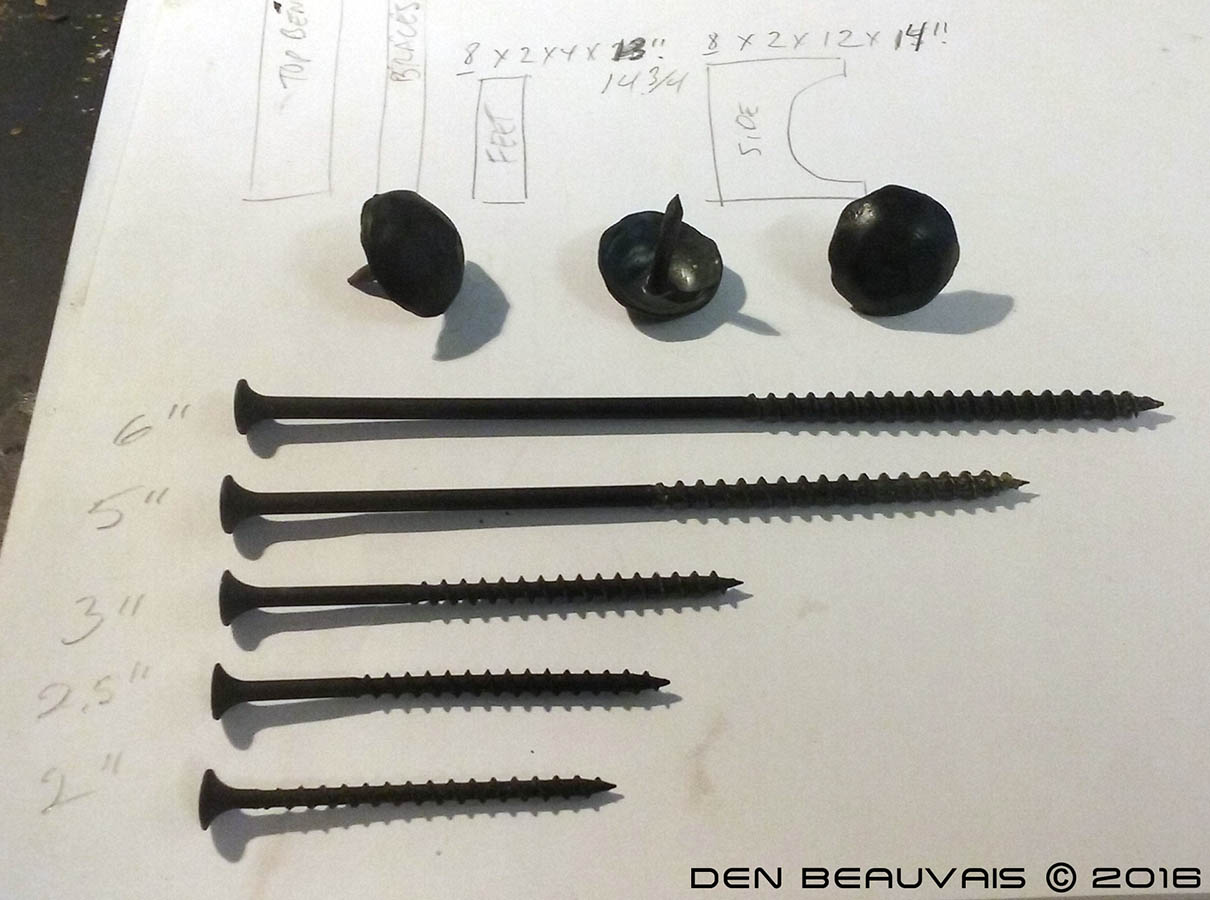
| Large diagram image showing the materials needed to make your own dining set. |
 |
| More pics coming as this project developes. |
 |
 |
| If you enjoy this site and find it entertaining...please donate a little something, every little bit helps. Thank You ! |
|---|
|
|---|
Copyright © 2011 Den Beauvais. All rights reserved.